Saturday, September 26, 2015

The roof on our vardo

For the past couple of weeks, we've been working off and on, getting the roof on our little vardo.  First, we had filled the spaces between the rafters with rigid styrofoam, glueing it all down.


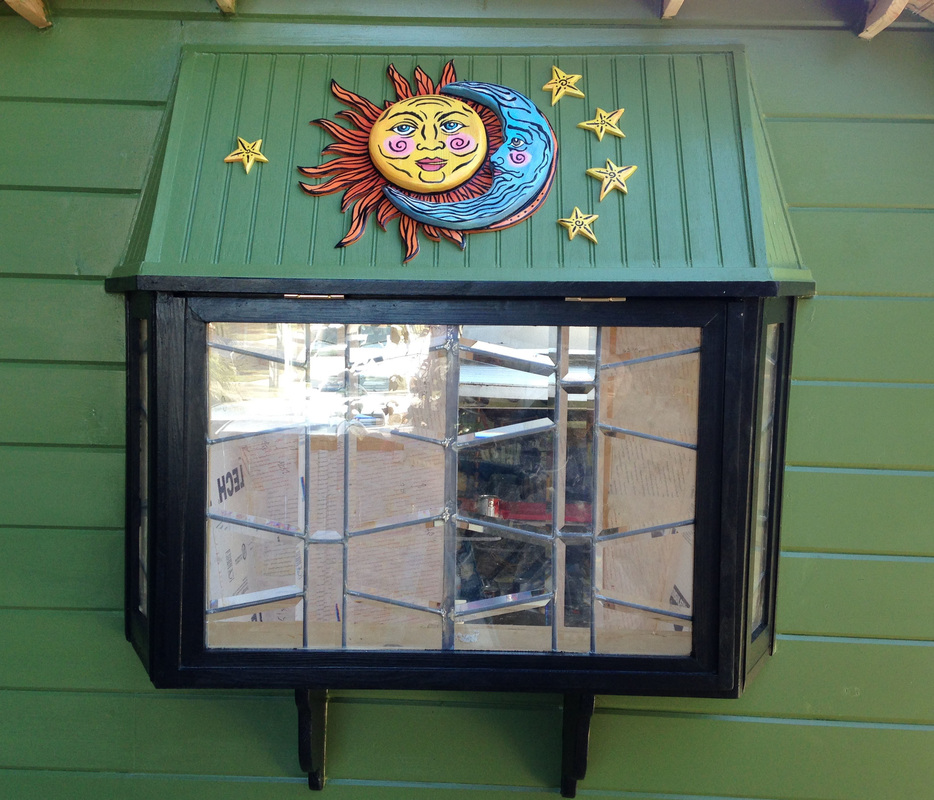
this is before we added the foam insulation


This is the insulation - it has foil on one side.  The first layer we put in foil side down, the second layer, foil side up.  This should keep it cool in summer, warm in winter.


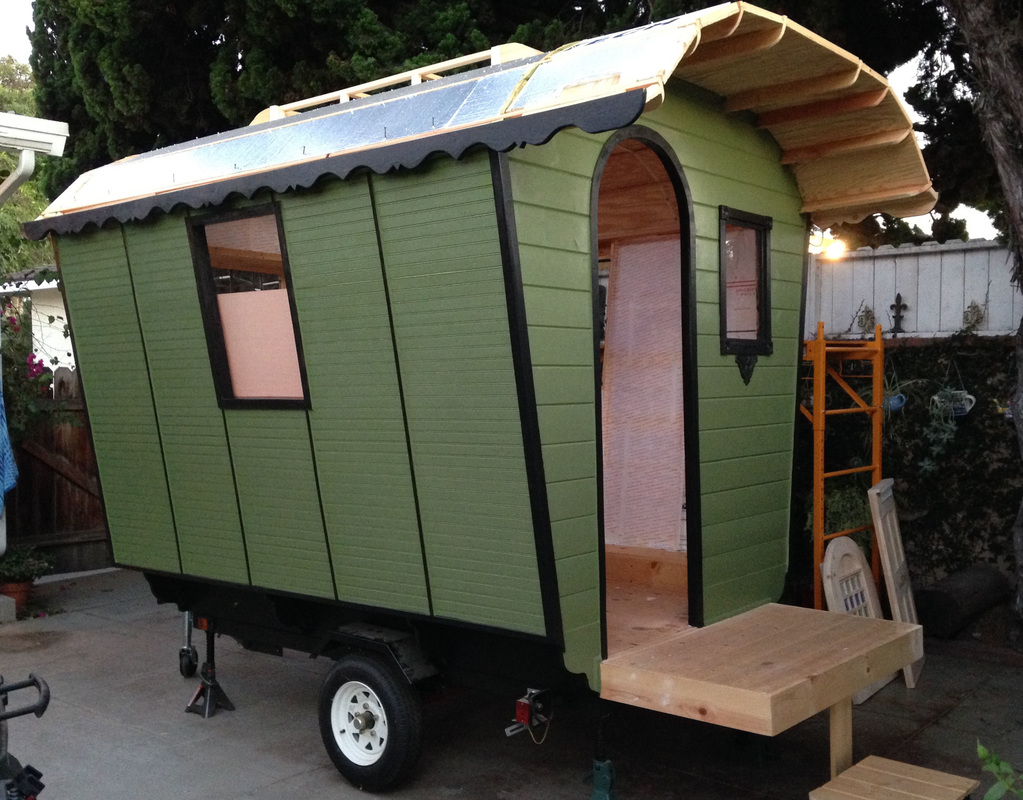
Then we bent plywood over the roof on each side, attaching to the rafters with glue and nails.


After we got the sheets attached, we cut 2" wide strips of plywood and covered the seams, spreading glue and nailing to cover the seams.


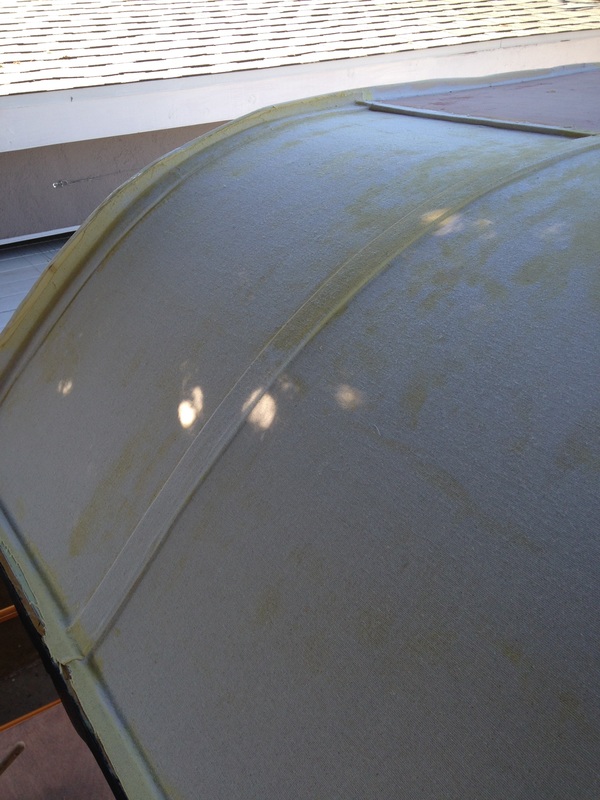
Then came the part where we waterproofed it.  We were using a technique called "poor man's fiberglass" - basically, you glue canvas down tightly to the wood, using Titebond II glue, which creates a water resistant seal.  Then you spread glue over the canvas, then paint over it with several layers of exterior grade paint, making sure the canvas soaks up all the paint and fills the fibers in.  I could tell as I was coating this that each layer will filling the spaces, and evening out the texture.


This is what it looked like after the canvas was glued down.


This is after one coat of house paint.


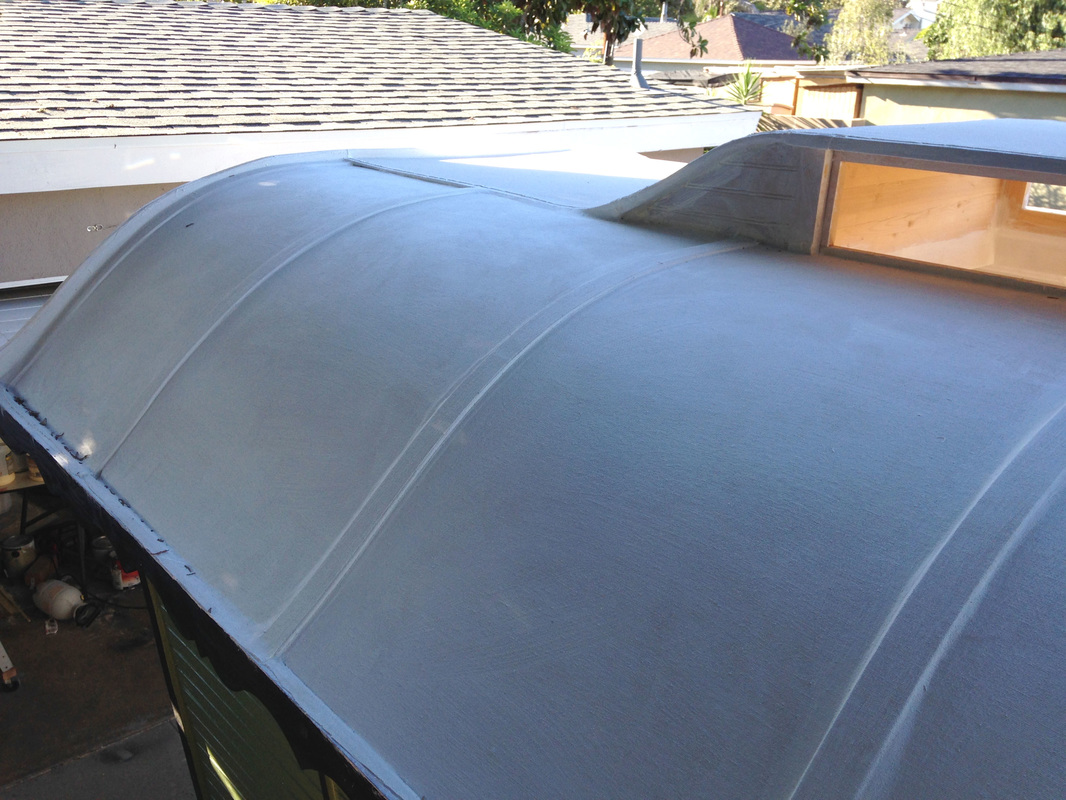
 More layers of house paint -- a total of 5 layers.
 
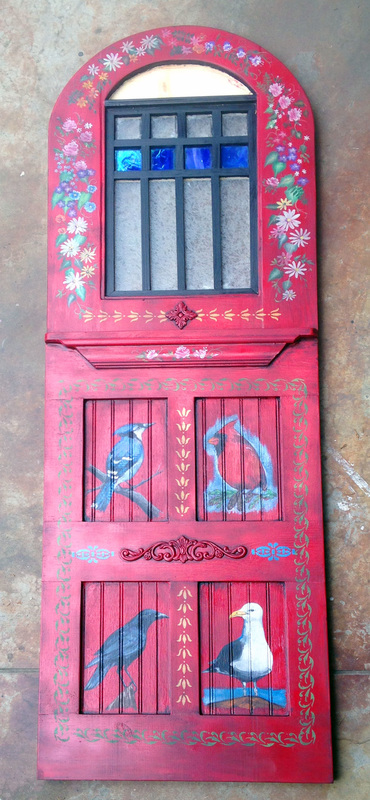
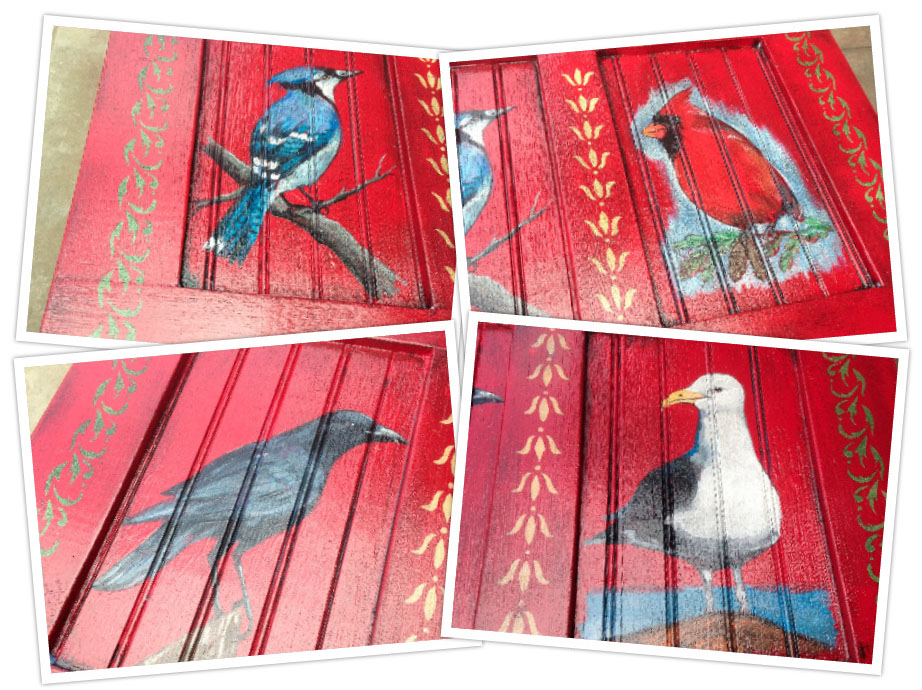
 The last layer was a light cream color, which was the background for my design of diamonds.


So, originally this pattern was going to be an all-over pattern of tan diamonds on a cream background.  But I had some nice dark brown paint so I thought I'd use that - and then it seemed kind of stark.  And I liked the way the straps stuck up, so I wanted to accent those.  So then I decided to add some stencils over the whole thing.  So it ended up with many more layers, but now I'm hapy with it.  


I finished it all up with a coat of clear poly to help protect it, although it's had heavy dew on it each night, and in the morning when I come out, there is water dripping off the roof onto the ground, and everything is totally watertight. 

So this took a lot longer than I expected, but that's how I work, so I'm used to it.  Here's a shot of some of my stencils:


Some of them I bought, and some of them I cut.  Can you tell I like a lot of pattern? 

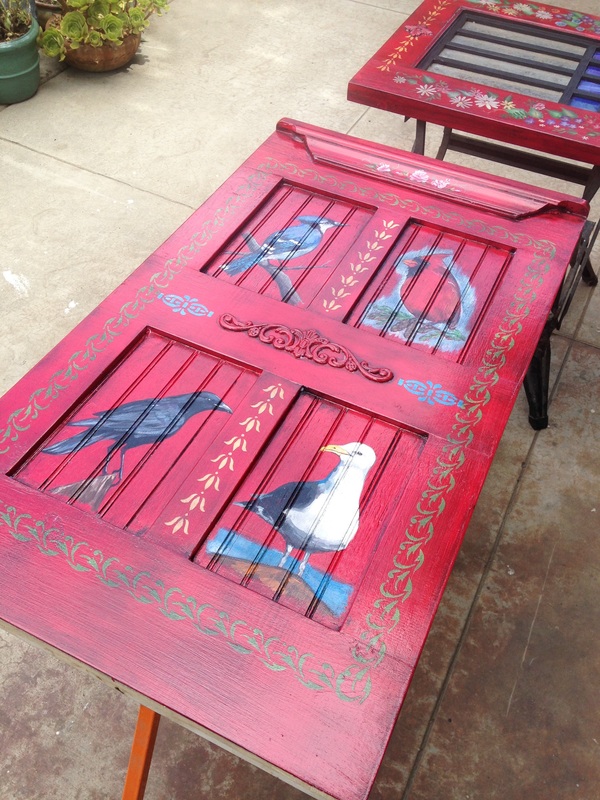
So now I can work on the windows to the skylight, and get the bands around the roof all painted. I got one coat of paint on them this afternoon, but they need two more.  I feel like I've been painting and painting and painting -- because I have!  But we will have this little vardo all weather tight pretty soon!

Saturday, September 12, 2015

Getting a new roof on the house -- and painting doors

The news has been full of predictions for a "godzilla el nino" this year - hopefully meaning that we'll catch up on rain to end this drought we've been in out here in California.  But that's also got a downside for us - we knew we needed a new roof, because we've got a leak right over the patio doors.  Being that it doens't rain but maybe twice a year in the past year, it wasn't a big rush. But if we're looking at a lot of rain.....

So this week the roofers came.  In preparation, we had to empty the garage (the slats on the roof have slight spaces between each slat, and when they take the roof off, it's gonna pour down a lot of dust and crumbs from the roof), and move the vardo. It's been in front of the garage, and that's where they need to dump all the roof they tear off.  So we packed everything up out of the garage, and prepared to roll the vardo into the larger part of the background - only to find that the lemon tree was blocking us.  So we had to cut that down.  It was something we were going to do anyway, but we got that started. 

In preparation for having no work to do on that for a week, I gave the door parts three coats of red paint. I bought a sample of a nice, vibrant red -- too red, actually, but I knew I'd be 'antiquing' it, so going a little bright is fine.  My plan was to learn how to do "one stroke" flowers, and also figure out some stencil patterns, along with adding some birds.  I love birds. 


So here it is!  This is after painting all the details, then giving it a coat of varnish to protect the paint, then giving it a coat of black paint, wiping off as I go so that it just collects in the corners and edges, and tones down the vibrant color.  This is both pieces laid out together on the concrete so I could see how they work together.

The blank space above the windows is going to have a mosaic embedded in it -- I'm thinking it'll be buttons, which I have a ton of.


I cut a few stencils from some blank stencil plastic, and I also purchased a few different stencils. I'm going to be covering this whole thing with a ton of embellishment, so having a lot of choices was important.


Like I said, I like birds. I gave Dale two choices, he chose blue jay and cardinal, and I chose crow and seagull.  The cardinal posed a little problem - the bird is about the same color red that I painted the doors, so I had to add a blue background.  My favorite is the blue jay, it came out nice, and I really love crows, so that one makes me happy, too.  Both of the stencils on this picture are ones I cut.


On the top, I practiced my flower skills. I have another large area that is going to have flowers, so I wanted to practice a bit on this. I watched some videos and looked at some how-tos online, and got painting.  One night, it was so incredibly hot while I was painting (we had a mini-heat wave), and I was trying to keep a fan on me, but it was drying the paint out so fast.  Anyway, I got that all done.  After I antiqued the red, I gave it two coats of clear poly to protect it against weather and wear.

 
So I still need to drill for a doorknob and get the hinges on -- the hinges will cover some of the flowers and paint, but that's OK -- I wanted it pretty busy so it'll all work out fine!

Monday, September 07, 2015

All painted -- well, at least the base coat

I pretty much painted all week -- two coats of green, two coats of black, and I'm thinking of giving everything a third coat for added protection from the weather!
It looks so different with some paint!  I am not liking how the black made the bottom completely disappear, but I've got some ideas of what to stencil and paint down there, not to mention every other surface on pretty much the whole thing.  So right now it looks a little "goth-y", but with the decorative paint over it, it will brighten up. 


Of course, little touches like this help make this seem more goth!  We went to a cool lumber store, and they had a ton of these pressed wood appliques for a reasonable price - I think this one was something like 4.50.  He's gonna look aweseome with some gold accents (when I can find my gold paint in the chaos that is my studio!)


I also got that back window tidied up.  I added a roof, some trim, and changed out the hinges to a hidden version. I like it so much better!

The beveled glass looks great, although I know I'm going to have to add curtains here!


We are getting a new roof on the house, so we had to pack up the tools and the trailer for a few days, but I've got some decorative accents to work on. The first one was a design for over this window:  I found a clip art of a vintage-inspired sun & moon, cut them out of wood with my new jigsaw (oh my goodness can I say how much I love it!)


Then I painted it all, gave it 4-5 coats of marine varnish and then glued/nailed it to the bay window roof.  I love it!


I still have more accent designs for around the edge, but this was a fun piece to work on. 

I also painted the doors red - maybe a little TOO red!, but they'll get antiqued with some black to calm them down. I have smoe ideas for some paintings on the panels and edges.  I'll post pics when I get those done, too.


We also got half the roof plywood curved and installed,  added insulation to the walls, and installed the back window by the door, but I forgot to take pics. I'll add those next time!  Pretty soon, we'll have the shell complete (with painting added), we can think about the insides!
Blogging tips