
I started working on getting the cabinets and walls done at the tail end while Dale worked on the electrical from the other end. That way we weren't tripping over each other. First, I cut down some of the furniture we had picked up free off craigslist and built around it --
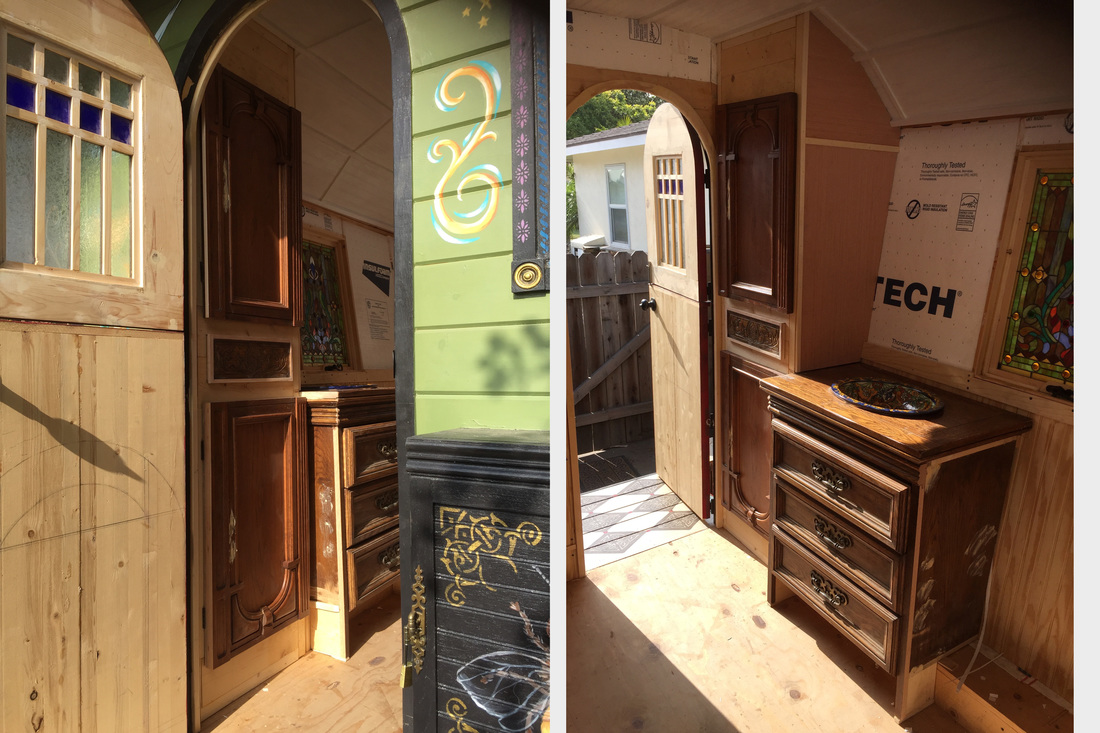
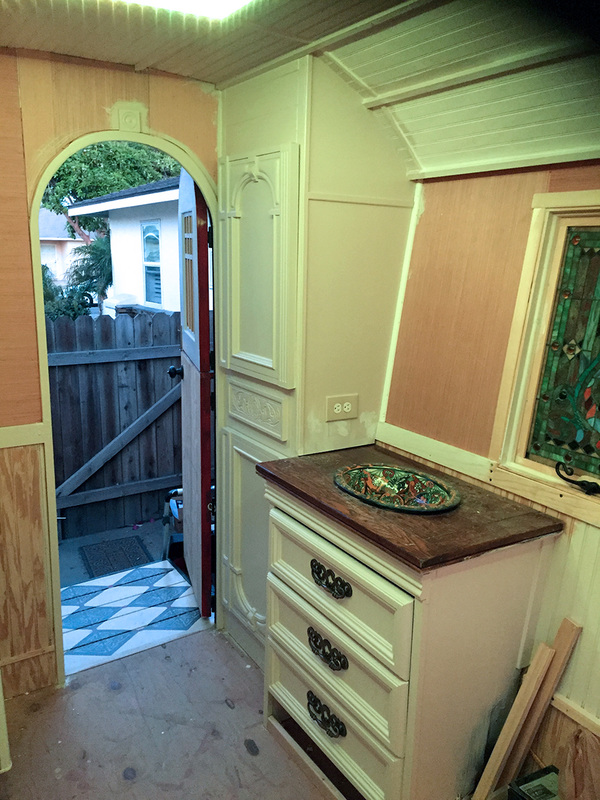
I started off with white primer, but the white looked a little too stark for me (Dale liked it, but he likes pretty bright colors), so I tinted the white more like an ivory, and I like it better.
I got a hand-painted Mexican sink on Craigslist for $25, and so I set that into the cabinet top. To run the plumbing, I ran the PVC pipes towards the rear of the cabinet and out the left side:
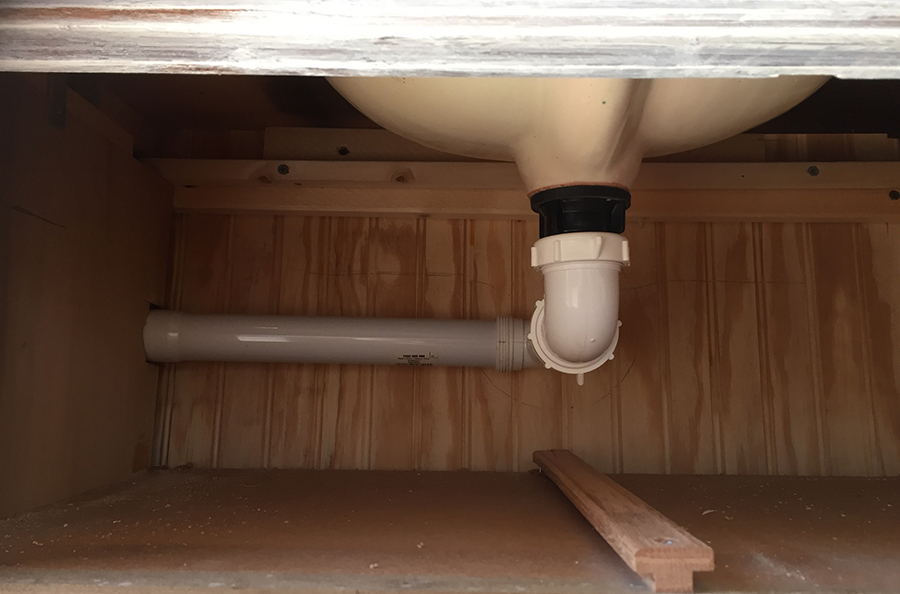
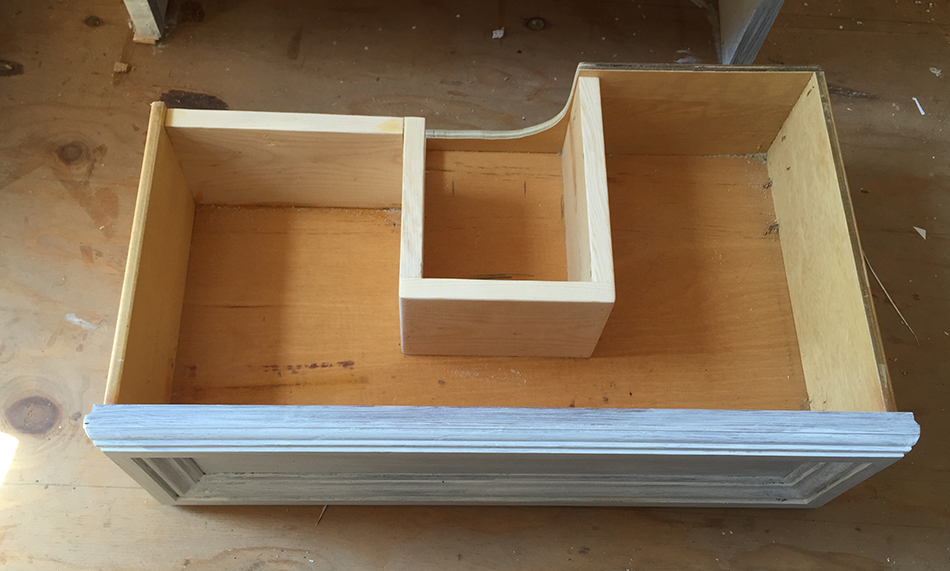
and then I cut down the top drawer so that it doesn't hit the piping.
on the other side of the vardo, I built in a box for our mini-fridge, which we'll be able to use if we're hooked up to 'shore' power -- plugged in at a RV site or campground:
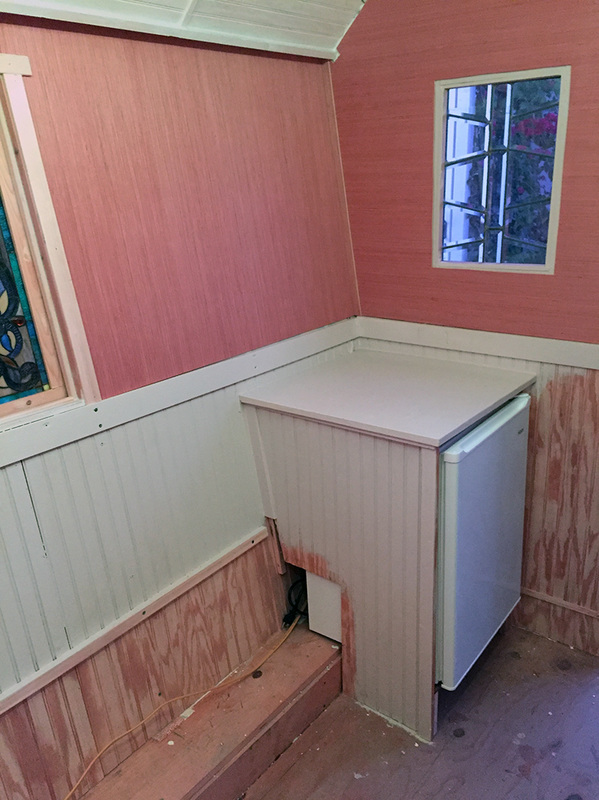
The opening at the bottom is to help circulate air for the fridge - it will go into a storage compartment that will serve as a bench. You can see the part that is unpainted, it will be inside the bench. I have the parts cut, but I have to get the bed cabinet installed first, and then I'll get the two benches put in.
While I was working on woodworking, Dale was working on the electrical. We got 4 outlets put in the 110v system, which will work when we are hooked up to shore power, and then we got the lights, fan and water pump, along with some USB charging ports, hooked into the 12v system. We picked up a couple of 12v lights at IKEA - they came with a adapter for 110v, but we just threw that away and hard wired them into the panel. We also added a LED row of lights along the top of the skylight -- they are programmable to run different colors and effects, and they have a remote to turn them on and off.
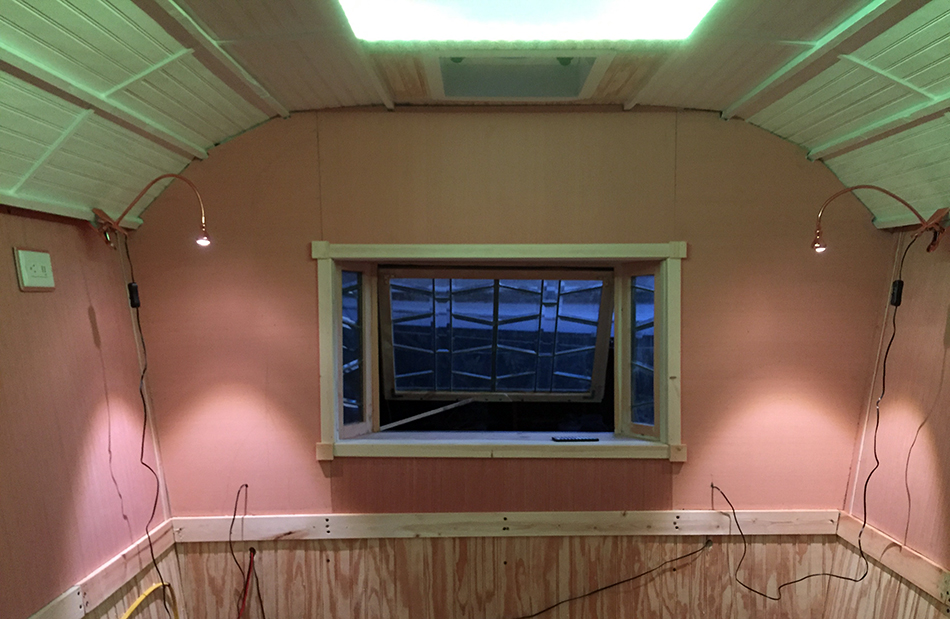
Here's the fan, it works great. We had to modify the installation because it came in at an angle, but we made a nice adaptation, just needs a little caulk and it's complete. It'll make sleeping great with a nice breeze that will blow down on us. The outlet on the top left has a plug and 2 USB ports to charge our phones. We're going to add a shelf there, so that's why it's up so high.
So - that's where we are. We're working hard to get it ready for a trip next week!
The wiring is kind of all over the place, but we'll get it corralled before we get the bed cabinet done.
So I have a lot of caulking and painting to do -- the walls will remain plywood until later int he summer when I have more time to work - I have wallpaper for the walls, and I want to build a lot of shelves and other features, but right now, we're just getting it ready to get out on the road!