Monday, February 24, 2014

Table

We ended up selling our kitchen table - the one I made from a Craigslist Free find.  As a reminder, here's how it looked:
I really liked the table, but in our remodeled space, it was too large.  I wanted something a little smaller, and actually, I really like rectangular tables more.  So I ended up selling it on Craiglist for a hundred bucks.  Not bad.  Anyway, then I was keeping an eye out for something free/cheap, and hadn't found anything yet.  I did see a couple of nice tables that might work, but knew I'd have to cut them down somewhat, and I hate to do that to a nice antique table. :)


Dale and I saw some really cool pipe base tables, and thought we might really enjoy that look in our kitchen.  So we sketched out a plan and went over to Lowe's to buy the pipe.  As we loaded the pieces into our cart, we were a little shocked at the prices -- and then we decided to add up the total before we made a decision, and the pieces came up to 144 dollars -- way beyond what we wanted to spend (and that only included the base!).


Luckily, I had pinned another table that I really liked -- and I knew I could make a replica of this WAY cheaper.  Here's the image I pinned:


Nice style, but too much oak, and the price....well, we're not buying that table! 


But I know I can make it.  Luckily, I had some maple plywood left over from my shelves, and it was just about the right size.  I added a lip around with 1x2 pine--


 I built the base from 4 x 4s for the legs, and some 1x4 slats on the side.  A center brace of a 2x4 -- and a lot of leftover trim from our previous work around the house. 


We spent a total of 40 dollars on wood and that's much better for me.  I still have some sanding (even out the wood filler on the nail holes and trim, stain the top, paint the base and then assemble it.  But so far, it's looking good!


 We went with squares instead of circles on the ends -- we used 3 slats across instead of 4, and the circles would have been a challenge.  Plus, we have a lot of squares with the tile pattern so I thought this would match up better.  I like the proportions, it'll fit nicely in our space. Just wide enough for us!


Thursday, February 20, 2014

Books in --

It sure looked like a lot of shelves, right? I was looking forward to "styling" them a bit with some fun objects interspersed with my books, artfully arranged by color.  Well - they're arranged by color, but as usual, I underestimated how many books I own, and they are kind of packed in.  I do like the color arrangement so far -- it helps to keep the shelves look neat.


They've been in boxes in the garage for about 2 years -- when we moved from the first rental, I didn't have shelves to unload them into, and I didn't want to buy anything to fit a rental.  Then when we moved here, we had no where again, but I knew I was going to build something -- so off into holding they went.


I unloaded them, and started stacking them in colors.


and I kept unloading them.....


 and kept unloading them...


it seemed like it would never end!


And to think that I had pared down the collection by a TON when we moved from Indiana.  And I don't even want to mention it, but I have at least this many books in my office at school, too.

But here they are!  The shelves below are almost full as well -- all the brown ones are in there, and anything that looked less than lovely (weird spines, wire bound, etc).  When we finally remove the furnace down the line, I can actually move some more down and then-- maybe then -- I can add some curios to the shelves.  And to think I had a few thoughts as I was unpacking/sorting that maybe now I could buy some more books?!  Not going to happen!

Saturday, February 15, 2014

Boy, are we tired!

Well, we worked our butts off today, trying to get the living room near completion.  We actually hit almost all of our goals today, which is great.  We finished the coffered ceiling trim, we got the ceiling re-painted (we had done it in semi-gloss, and I hated it, so another coat of Swiss Coffee, this time flat), caulked, Dale skim coated the wall of the sliding glass window and I finished painting the shelves!  woo hoo!
The only thing we were thinking we might get to today was to install the TV/electronics, but we decided to go out for dinner and take a hot shower instead.  We figure we'll be ready to do something in the morning. 


I do love it with the pocket door closed!  We still have a stupid place holder light fixture in the middle of the room -- we want to put a ceiling fan in, but we have so many other things to worry about that we are going to wait on that for a bit.  Oh, and the recessed lights we had to pull down to paint around, I want to check out paint job in the morning.  Painting a flat coat on top of a gloss coat - hard to tell what's been painted and what got missed, especially with the lights glaring right in our eyes!


I am so ready to get my boxes of books unpacked and fill the shelves, but I want to let the paint cure for a week or so.  Books are heavy and I don't want them to mess up the paint job.  That was 1 coat of primer and 3 coats of topcoat -- I do NOT want to paint that again. 


I do still have some touch ups of the ceiling trim- I got 2 coats on today, but they could use a third.  So in the morning, we'll touch up and then get some stuff moved back in, although we still have walls to work on.


The biggest project in here that we still have left is doing something with this fireplace.  We are actually going to skim coat the top half and then plaster it so it is smooth, and then retile the bottom half with some ledger stone.  I would LOVE to find a really nice set of fireplace doors that fit the opening -- I'll have to keep my eyes out for those.  I've seen beautiful cast iron ones, but they're probably way outside what I'd like to pay.  Once we decide on what kind of stone to put on the fireplace, I'm also going to tile over the brick hearth.  Probably travertine or slate, but we'll see how that goes.

This spring we hope to get the french doors put in to replace the slider.  We removed most of the trim from the slider before Dale redid the wall, so it should be a pretty simple affair to take the slider out.  We are going to go ahead and trim out the doorway so it looks finished, it'll be pretty simple to take the trim down to replace the door when we're ready to do that.

Well, hot showers and putting our feet up.  I think tonight's the last night we'll have our giant TV at the foot of the bed!  I look forward to getting my bedroom back!

Friday, February 14, 2014

Here kitty, kitty

I was at the art supply store a couple of months ago, and I saw these little canvases for under a dollar each -- they are 4 x 4 inches, and I bought six of them.  I decided I wanted to paint a little series of portraits of Persephone for the kitchen - because she's black and white and she matches the tile!

When I lived in Indianapolis, I had a few favorite works at the IMA (the Indianapolis Museum of Art), and some of those were a couple of small portraits done by Cornielle de Lyon, a Dutch portrait  painter who worked in the 1500's.  This reproduction from the IMA's website is a bit dark:


But what I love about these -- apart from the size, they're fairly small -- is the lovely green background and finely painted details.  So that's my inspiration.  I captured the face of Miss Persephone in different views, and decided to do four of them.  Another thing I loved about the Cornielle deLyon portraits is the varnish, it makes the colors glow, so I put several coats of spar varnish on these, which will also help protect them since they're close to the stove.


The green is much more vivid than the walls, but goes wellwith them.  And I decided to make simple lath frames, nailed to the wooden stretchers.  That way they go well with the hanging wooden spoons.

I came home from class one night and just worked on them until I finished around midnight.  Varnished them and the next morning made frames.  They are really great, and I think they're the perfect addition.  However, Mercury is a little sulky, so it looks like I've got a portrait of him to paint in my future.


Sunday, February 09, 2014

Shelves are coming along!

I've been working a little bit each day on the shelves, and with a big push this weekend, I have 99% of the building part done. 

Where I left off is when I had the base cabinets pretty much done, other than the base molding.  I had installed the cabinets, painted (and painted and painted - 1 coat of primer and 3 coats of semi-gloss top coat). 

Dale had applied a skim coat to the wall to even them out, I sanded and primed.  Then I had 2 sheets of plywood cut at Home Depot to 11" wide, and I started on the right side, to be sure I could work out all the problems before I had to make everything fit.  We knew we wanted to run the coffered ceiling edges along the front of the bookshelves to integrate them, so I had to leave 5.5" for the end panels, and that left me a rather short shelf over the doorway.  I decided graduated sizes of shelves would work best, so I got to work building the first set of shelves, and anchored them in.
In the meantime, one of the coffer beams was slightly out of place, which we didn't realize until we took down the plastic and stood in the kitchen, then it was apparent that one of them was a little bowed.  So we took that down and reworked it. 


This is what I got done yesterday.  I still had the facing pieces on the front of the shelves to add, to cover the plywood edges and to bulk up the look of the unit.  But this morning, we decided we should take a break and go to the Rose Bowl Flea Market --


Hoping we could find some interesting stuff -- amazingly, we ended buying only a bag of glazed almonds!  Nothing the whole day!  I saw stuff I liked, but just wasn't inspired to spend the money.  We did enjoy looking, and we'd packed a lunch so that was nice to sit under a tree and chat and eat our sandwiches halfway through. 


But when we got back, I got back to work and finished cutting and sanding all the edges, then got them glued and nailed up:


Fill, sand, paint, and so.much.caulking to do!  I ran out this evening, so I need to get more in the morning, but I have 3/4 of it all done.  Just the last set of shelves on the far left to finish up.  Then I can prime and paint.  And now we can finish these boxes on the ceiling, with the two rows of molding (and more caulk! and more primer! and more paint!)  But it's the home stretch now.

I have a busy week at work, so I won't be able to work much on these until the weekend, but I am hoping to get a little done every day again, maybe a coat of paint for an hour or so a day.  I did manage to get the baseboard molding in, so it's just the cabinets and that last set of coffered boxes to finish.  The fireplace is looking really bad now -- I've just slapped paint here and there on it while I'm working on the shelves, but Dale is going to do a nice coat of plaster over the brick and maybe he can get that done this week (along with finishing up the wall with the sliding glass window.  Who knows, maybe we can move furniture back in here soon!


Saturday, February 01, 2014

Bookshelves/cabinets

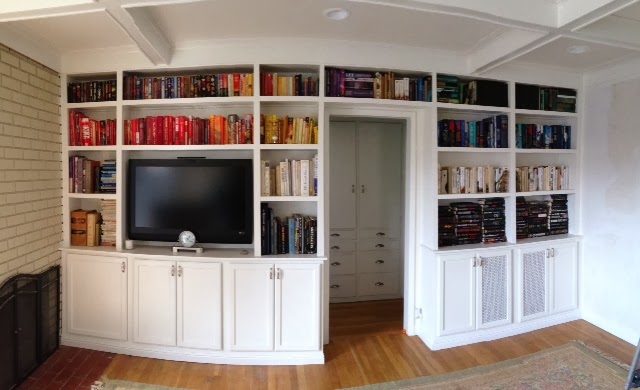
We've had floor to ceiling bookshelves in the past, and one thing that bugged me about them is that sometimes we have books or magazines that we want to keep, but they look messy and terrible.  So I knew I wanted some closed shelves as well as open bookshelves.  I've been looking on Pinterest a lot to see what it is I really like, and I tend to like traditional shelves over cabinets:
I seriously thought about building he lower cabinets, then came to my senses and decided to buy unfinished ones from Lowe's -- Home Depot has the same ones, they're unfinished oak and I've used them before in a previous house and was happy enough with them.  Mostly, they just need to hide my mess!

Because the walls have all kinds of issues, including the door not being centered, a tv will need to be wired on one, and there's a floor heater that we aren't going to replace for a few years -- I had to buy several sizes, but I know that when I paint them all they will read as one unit. 

The first cabinets I worked on went over the floor vents.  I had to cut out the backs and centers to fit around the vent, and replace the panels on the doors with open metal grating so the heat can come out.  First, altering the cabinet boxes:


I took the horizontal shelves and cut them to fit vertically, to keep the heat confined to the center section.  I also had to move an outlet from behind the one on the left to the side of the base.


So far so good.  I got the other boxes in, moving one outlet, and running a connection between the wall and the base so we could hide our electronics and television wires.  We hung the bracket as well -- I really like this one we got from IKEA, minimal moving parts, nice and sturdy attached to the studs.
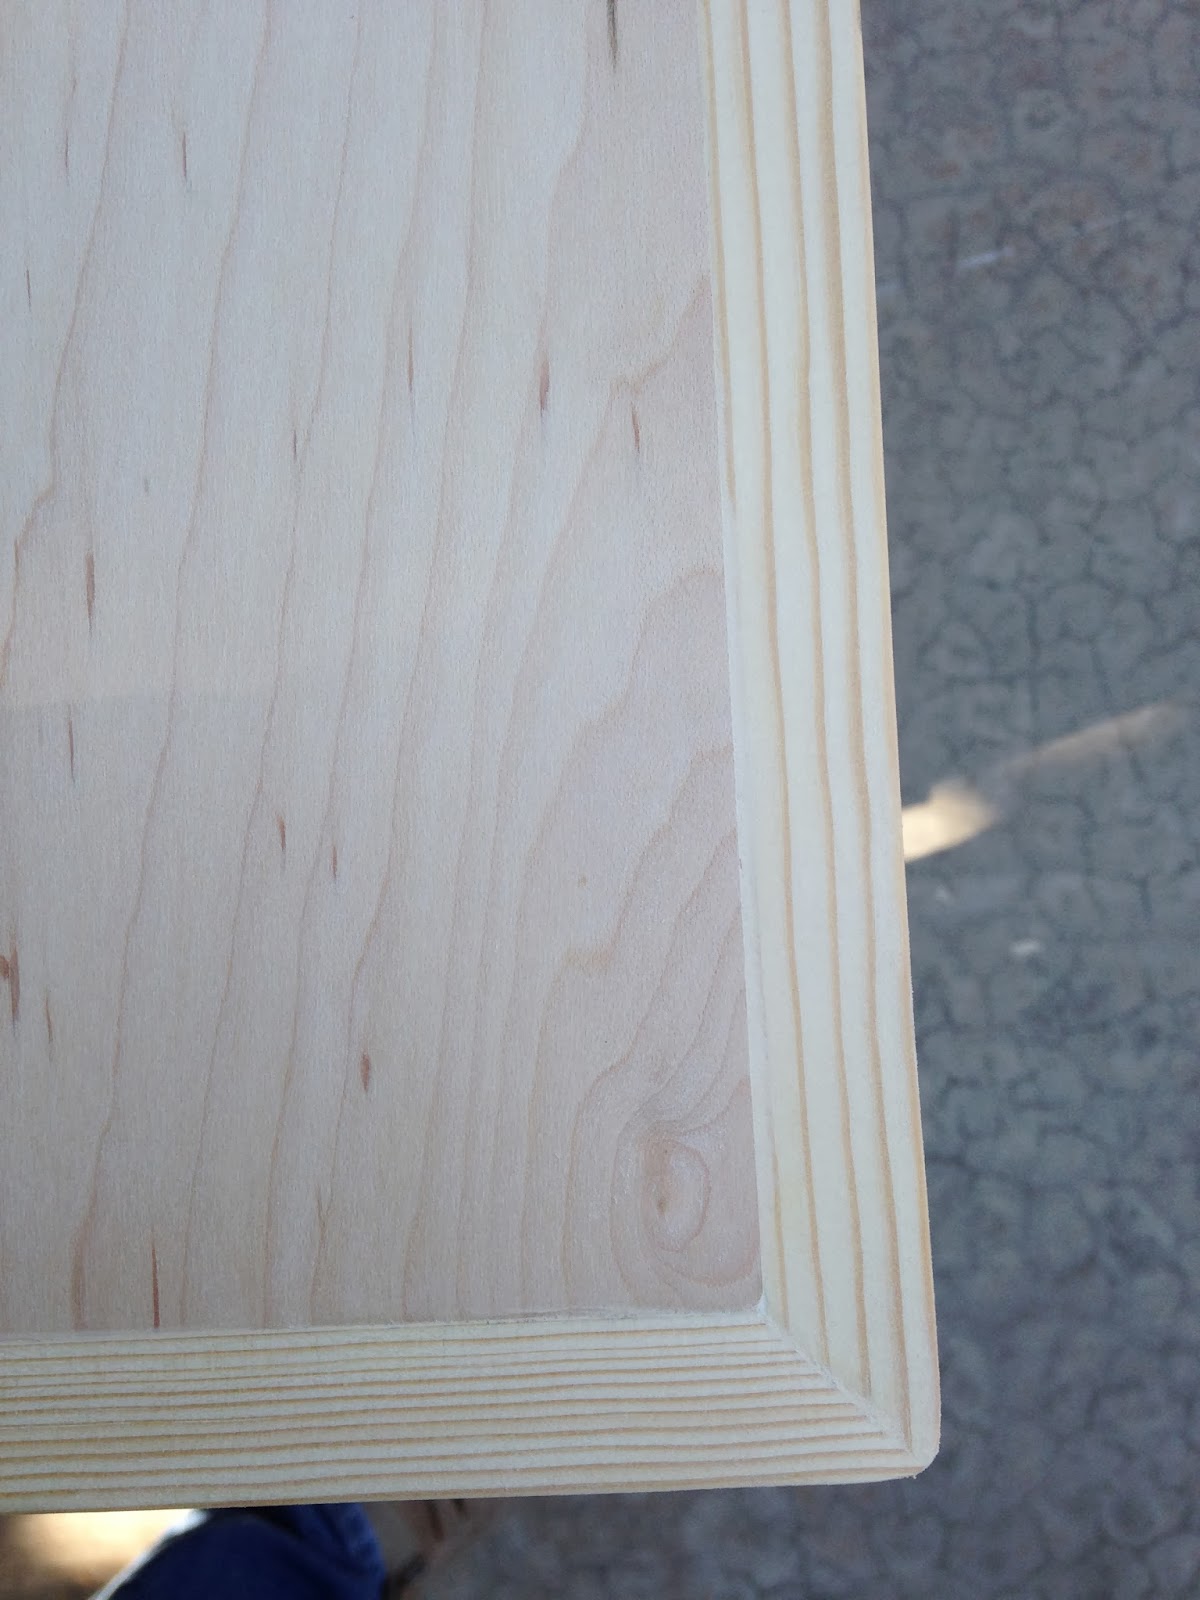
This week, I went to Home Depot and had them cut some 3/4 plywood to size for the top of the cabinets, then ran 3/4" screen mold along the edges, filling and sanding. 


The one on the right has a coat of primer, and you can see the outlet box.  Well, you could if Persephone did not want to get into every picture.

Another thing I was really glad to do was change out the pocket door and trim it out.  I've positively hated the previous door - it had a layer of painted paneling glued over the beautiful panels, and it was hideous.  After all the work I had done restoring the one from the hall, I decided to use that one and so Dale took out the old door, and put in the nice, refinished one in.  But we also had to remove all the old paneling "trim" they put around the door.  So I had to cut all new trim, but I got that done this week, and have added a couple of coats of primer and paint, so it looks great.


This is before I got the paint on it.  But Mercury wants equal time in the photos.


I've painted the doors and the cabinets and the door trim, and meanwhile, Dale has skim coated the walls, so they look a thousand percent better now.

He fixed the plaster problems on this side, and leveled out the wall.  I still have to do some more sanding, priming and adding baseboard before I can paint and call this wall finished, but it looks SO much better.


He still has the sliding glass wall to plaster - he added in the drywall but needs to give it a few coats of plaster to fill the cracks and gaps.  And wouldn't you know it, we are about a 12 x 20" piece of drywall short. I hope I can pick up a scrap somewhere this week.


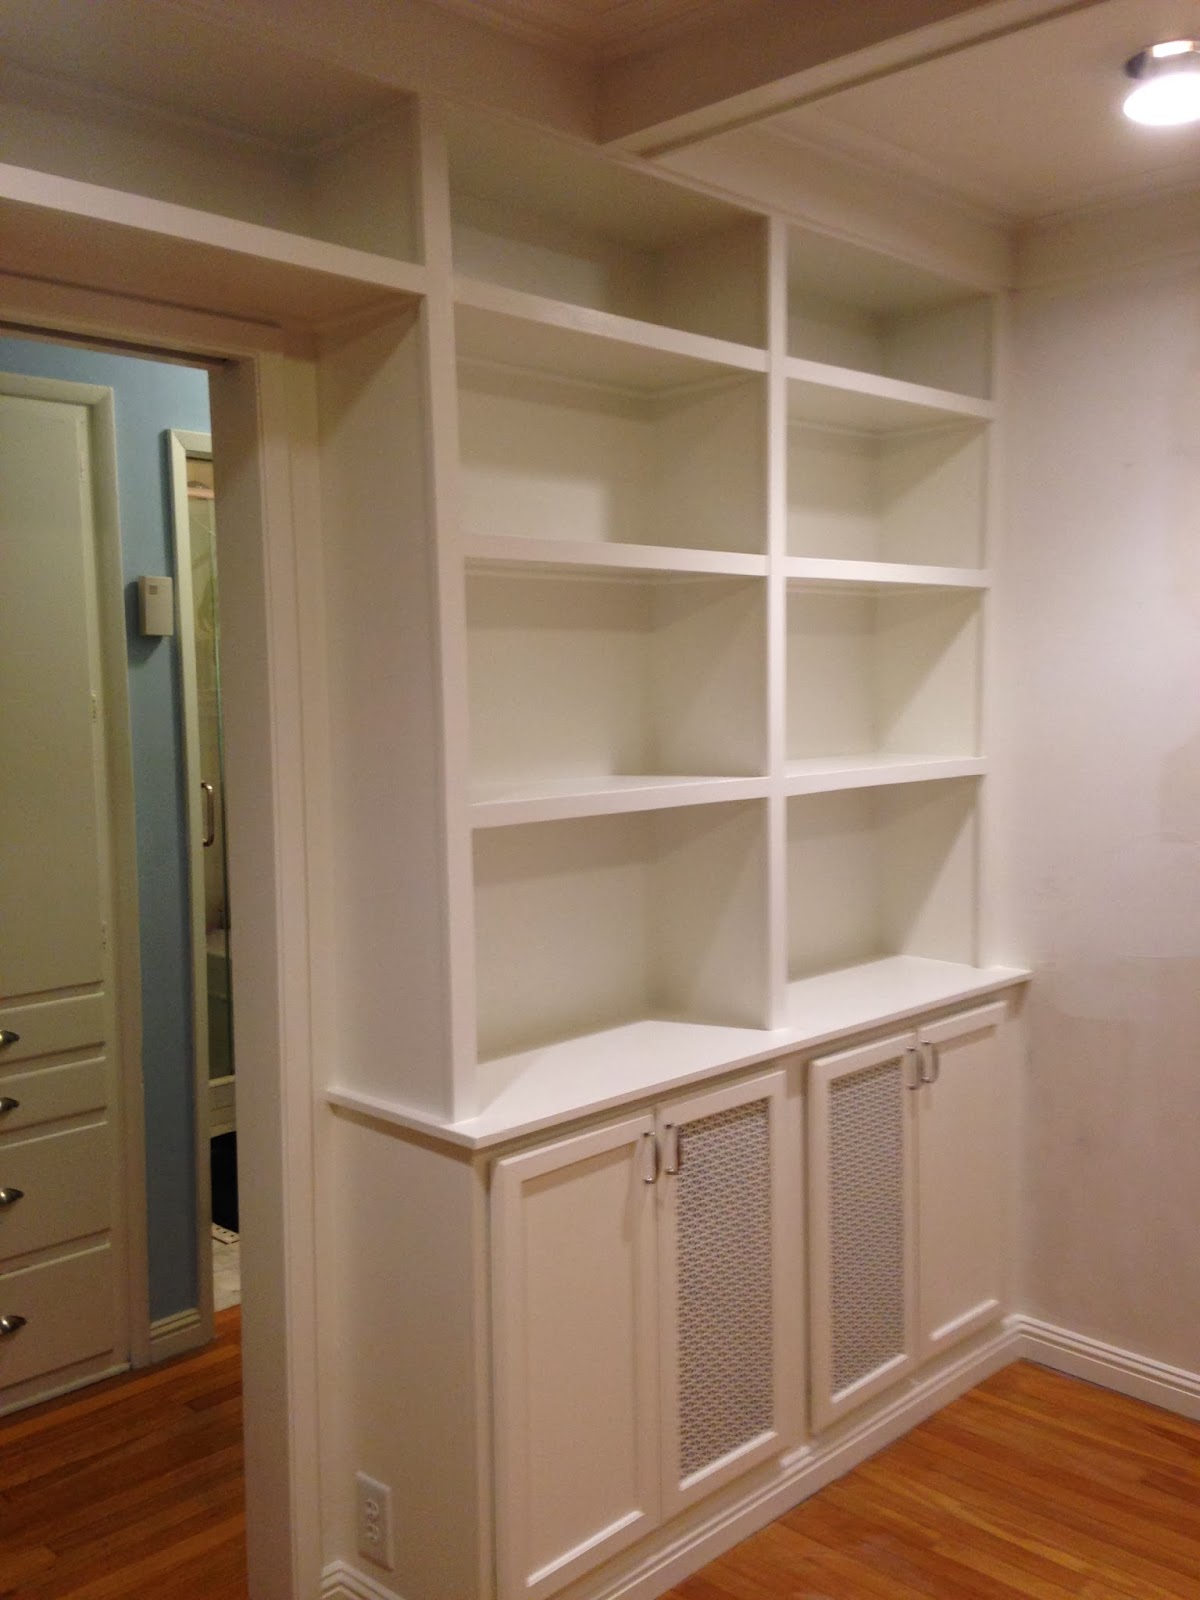
So here is where it stands right now -- got the base cabinets in, painted with primer + 3 coats of semi-gloss, they may need one more coat or just touch ups, and I'm ready to tackle the shelves this weekend.


I'm ready to add baseboard and get the walls primed and the shelves put up!  We've also decided on an approach to the fireplace, something to hopefully minimize it's weird placement that's given us all kinds of trouble as far as arranging furniture.  But that'll be a little further down the line! 

Blogging tips