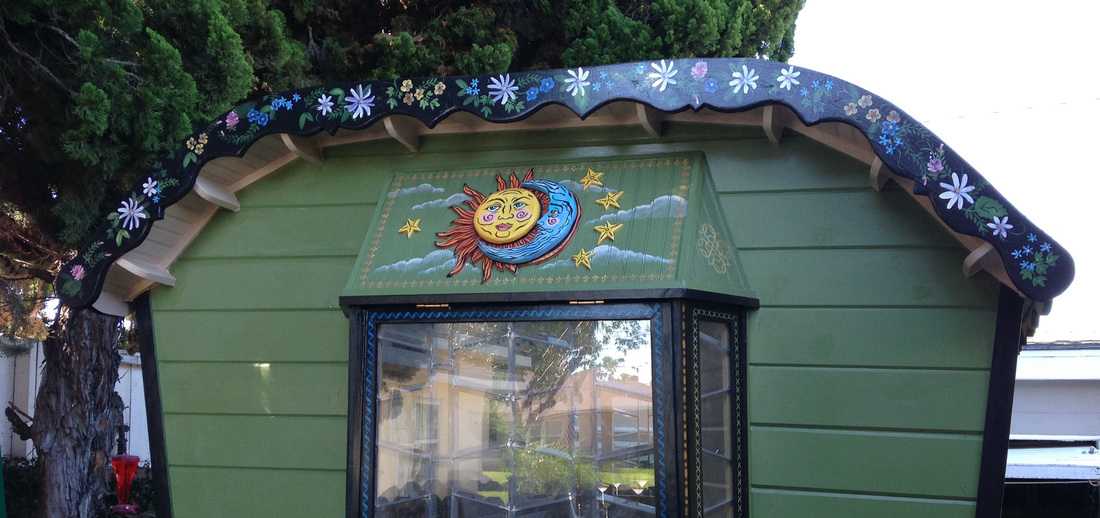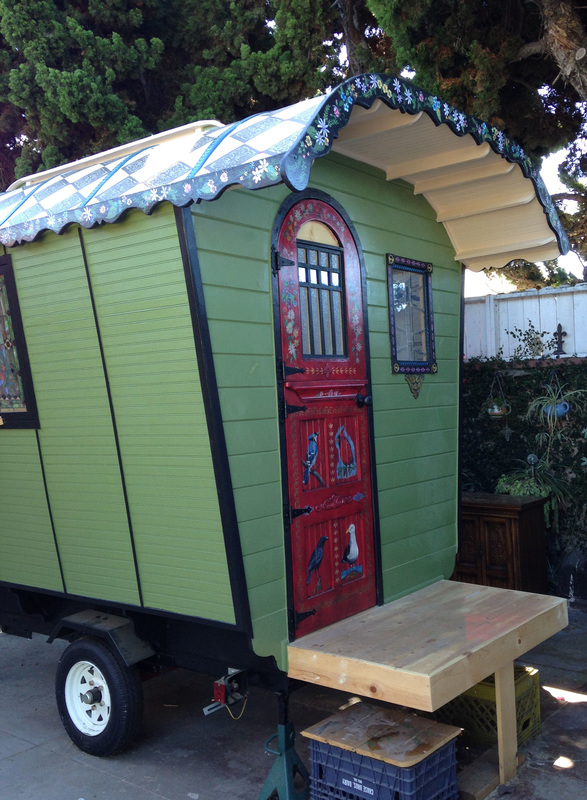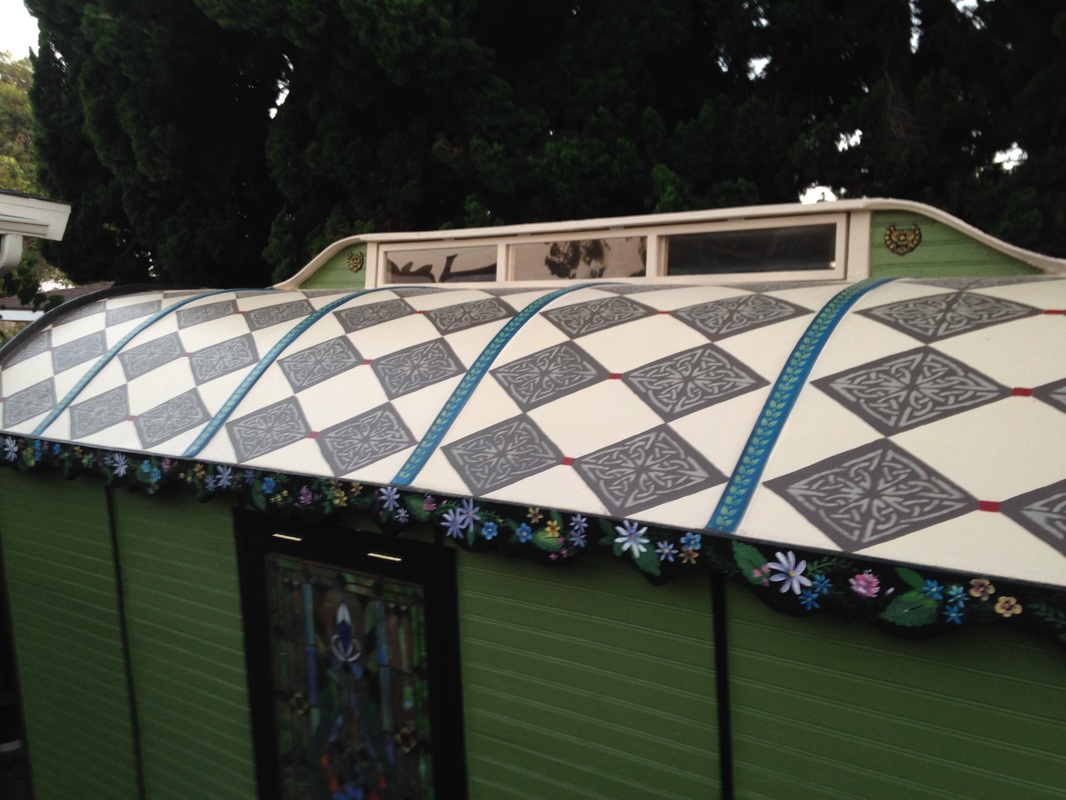
We've almost got the shell completely closed in -- just have to add the top windows. I made them this weekend, but I need to get the paint cleaned off and just get them hinged up.
We decided to make these with plexi in them -- lightweight for the roof. We've been trying to focus on keeping the top as light as possible.
The other thing we needed to do was get the door mounted, and drill the door for a lockset. We have it keyed to match our housekey for simplicity. I got a pretty good deal on the hinges at this local place that believe it or not, has cheaper prices than Harbor Freight. I think the hinges were $1.89 each, and they look great:
The top hinge on the top half of the door had to be cut down - Dale used a grinder to round it off after he cut it down. It just lost the little arrow tip, which was fine. Drilling the lockset was a job - we got a kit from Lowes that had a guide and drill bits - but when we got to the part where we needed to drill a hole for the latch to go through - the drill bit was clearly off center, so we had to work out a solution. But we got it all done, it closes great, and now I just need to get the rounded stop mounted on the inside. We have a temporary piece of wood just screwed on the inside to keep the door from going in.
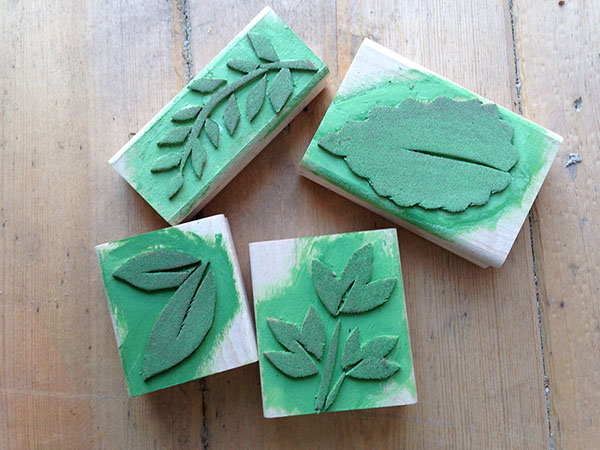
I missed a few other details in my last post -- I put the glass in the door next to the window (you can see it above), and I tested out some of my stencils on the trim.
I also added more details to the back window -- both along the trim with some stencils, then I also added some clouds to the scene, and made a stencil border.
I'm looking foward to making some shutters for this window and for the two side windows. This window will be a little tricky, since it has three sides to cover, but I have some ideas. We just need them for when we are traveling -- to keep rocks and other debris from hitting the windows. So mostly they'll be open but they will need to be able to latch shut.
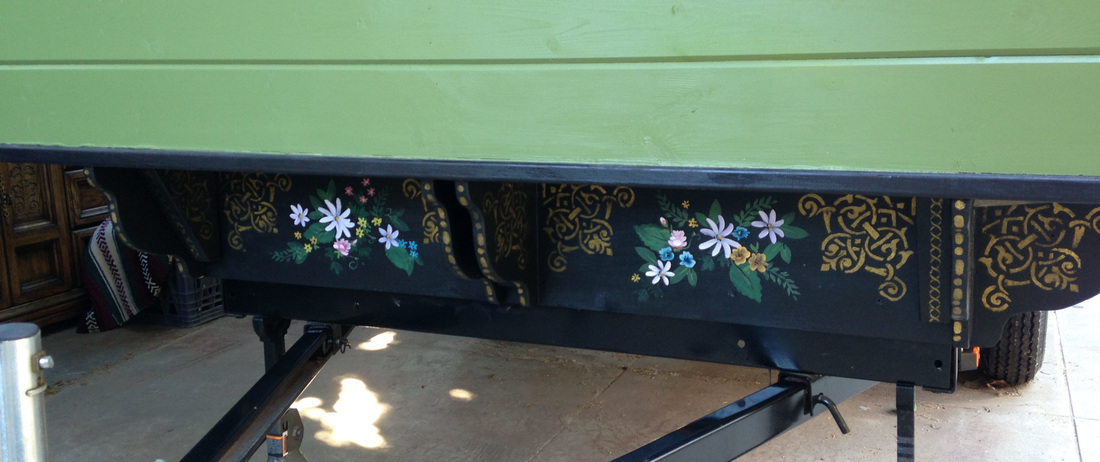
I have been spending most of my time painting. Painting, painting, painting. I got one coat on the inside ceiling, and I'm in the middle of getting the underside to the porch roof and the little back overhang. I have one coat on each, and this week I'd like to get those done and then fix all the drips and splotches. The ends both need another coat of green and then I can get the decorative painting started.
In the meantime, we've picked up a few interesting free pieces of furniture on Craigslist. We're trying to use only recycled pieces for the interior, both to keep the cost down, but also because I think we can make things interesting in there that way. Here are the pieces we're going to start with:

The big china cabinet (on the left) we are planning to use the bottom half front for the part under the bed. We may use the drawers, but the two side panels are just doors that we will keep as doors to reach the storage area under the bed. We'll use some of the wood from the hutch top as the top rail and we'll use the backing for walls under the bed. The amoire in the center - I really liked the doors on the top half. We're going to be using those for a long thin storage cabinet, using the two doors, one up and one down something like this:
and then the bottom half of that cabinet we will use for our kitchen cabinet base.
The little end table on the right will also be for lower cabinets.
All of these pieces are too heavy, so we'll be cutting away unnecessary wood and lightening up where possible. What I've been looking for is pieces with interesting details, like the door panels. The hutch is humongous, and should fit across the width of the vardo easily enough, with just some minimal filling in which we'll use the scraps from the doors on the china cabinet.
We'll also be using the wood on the sides and back by just cutting it into shape with our table saw. So we can use it to frame out our benches, etc. If we run out of lumber, we'll just keep our eyes out for some good donor furniture. There's always a bunch of free stuff out there. When we get it all built in, we'll be painting it, which will help unify the various styles somewhat, but we like the idea of eclectic pieces here and there.

This week, we bought some jacks that we will have welded onto the four corners of the frame, so we'll be able to flip those down and level the vardo when we camp. Right now, we've been using car jacks onthe four corners, they're heavy and awkward and we don't want to have to try to carry them along with us. The ones we bought will fold up and tuck away under the frame.
We also picked up a water tank so when we go somewhere without available water, we'll have the ability to bring some with us. Water is really heavy, so we didn't get that big of a tank. Originally, I was thinking of getting a 20 gallon tank, but when I did the calculation on how much that would weigh, it was 166 pounds -- way too much to have sloshing around. So we bought a 10 gallon tank that hopefully we don't have to use often. It'll go in the storage area under the bed.
We're also looking at solar panels and that whole thing, we should be able to get 100 watts of solar easily and cheaply enough, and that should give us plenty of power for our off-grid trips.
So it's coming along! I really want to get some of the decorative painting started, as soon as the crazy work reports get done, I'll be able to start on that!


