Friday, March 28, 2014

Ready for guests

This weekend I am off to a conference (and I am so looking forward to meeting up with my grad school friends and all my art teacher friends from all over the US!), and when I get back on Monday, my daughter and our little grandson Parker will be here waiting for me!

We really wanted to have the whole house ready so we weren't in mid-reno like we were last time they were out.  We still have plywood counters, we shopped for soapstone last weekend, but amazingly, we just couldn't find much to choose from and the one place that had it, the slabs were kind of meh.  So for what it would cost (around 3K), I think we are going to make our out concrete countertops.  If we like them, they'll stay around awhile, and maybe I'll find my dream soapstone in the future.  I think they'll cost around 500-600 dollars, which is a great solution and might be a great permanent one.

But this week, we got almost all the finishing touches done - still a few art pieces here and there to hang, but it's definitely presentable.  I hung some family pictures in the hallway:
I had set up a gallery of pictures previously, but Dale was feeling under-represented in the family area, so we went through his family pictures and found a few to add in.  I also hung a few things over the fireplace, which meant we had to use our hilti-gun again:
OMG, so glad we bought that.  I am SICK of drilling/placing anchors in concrete.  The wall above the fireplace looks like drywall, but it's concrete.  So that stuff aint going nowhere.  Ever.

I also arranged a gallery wall over the sofa -- I still have a couple of empty frames, but I can come up with a fun project here and there --
I don't know what I'm going to put on that pedestal bracket.  I'll find something.  And now that I look at the Mexican blanket on the sofa, well, that's a big mistake.  I'll remedy that ASAP.  Just trying to add some color into our rather neutral furnishings.

I ordered a nice, large kilim rug that should, Lebowski-style, "pull the whole room together", but it hasn't gotten here yet.  I'm getting a bit frustrated, hasn't been shipped yet, and I need to call next week to see what's up.  It's already been 2 weeks and it should at least have been shipped out of the warehouse.  So for now, we have a smaller area rug.  That rug is 5 x 7, the new one is 7 x 11, so I am hoping it will help the room read as a unit. 


On another wall, I have a small table that I want to do a fun paint job on.  I also have a few empty jars that I am once again going to make an attempt to create terrariums in.  My last attempt was foiled by Mercury, who reached in and pulled all the plants out.  This time, I have a big one with a lid, and I'll figure out something for the two open topped jars.


I'd also like to get some orchids, and I think this would be a good place for them to get bright, indirect light.  And maybe I can get my cats to leave them alone....


One of my favorite things is this curtain rod. I was really frustrated before with our curtain situation - we have 3 panels (instead of 4), and because of the length of the run, we had to have a center support, which meant that we couldn't evenly space the panels when the sun comes in during the early evening as it's setting.  So originally, I was thinking I'd install a pipe from the left wall to the fireplace wall, but when I went to Lowe's to price that out, I was a little shocked. 

So I went over the curtain rod area to see what they had, and since the span is right at 12', I didn't think I'd find anything.  But -- then I saw this rod with built in clips with wheeled runners ---

and the center bracket holder was open on the bottom -- score!  exactly what I needed!


so now I can put my two panels on one side, one on the other, and when I need to, they roll easily right across the entire area.


These panels are from Ikea, and they originally had tab tops, but since these rods have clips, I cut and re-sewed the tops to a plain hem, then finally hemmed the bottoms to fit.  I've had these panels for 3 years unhemmed, so it's nice to see them all finished.  I do really like the curtains, and they're a great deal at 19.99 per panel.  I just didn't want to have to buy a third just so I could meet the sets in the center.


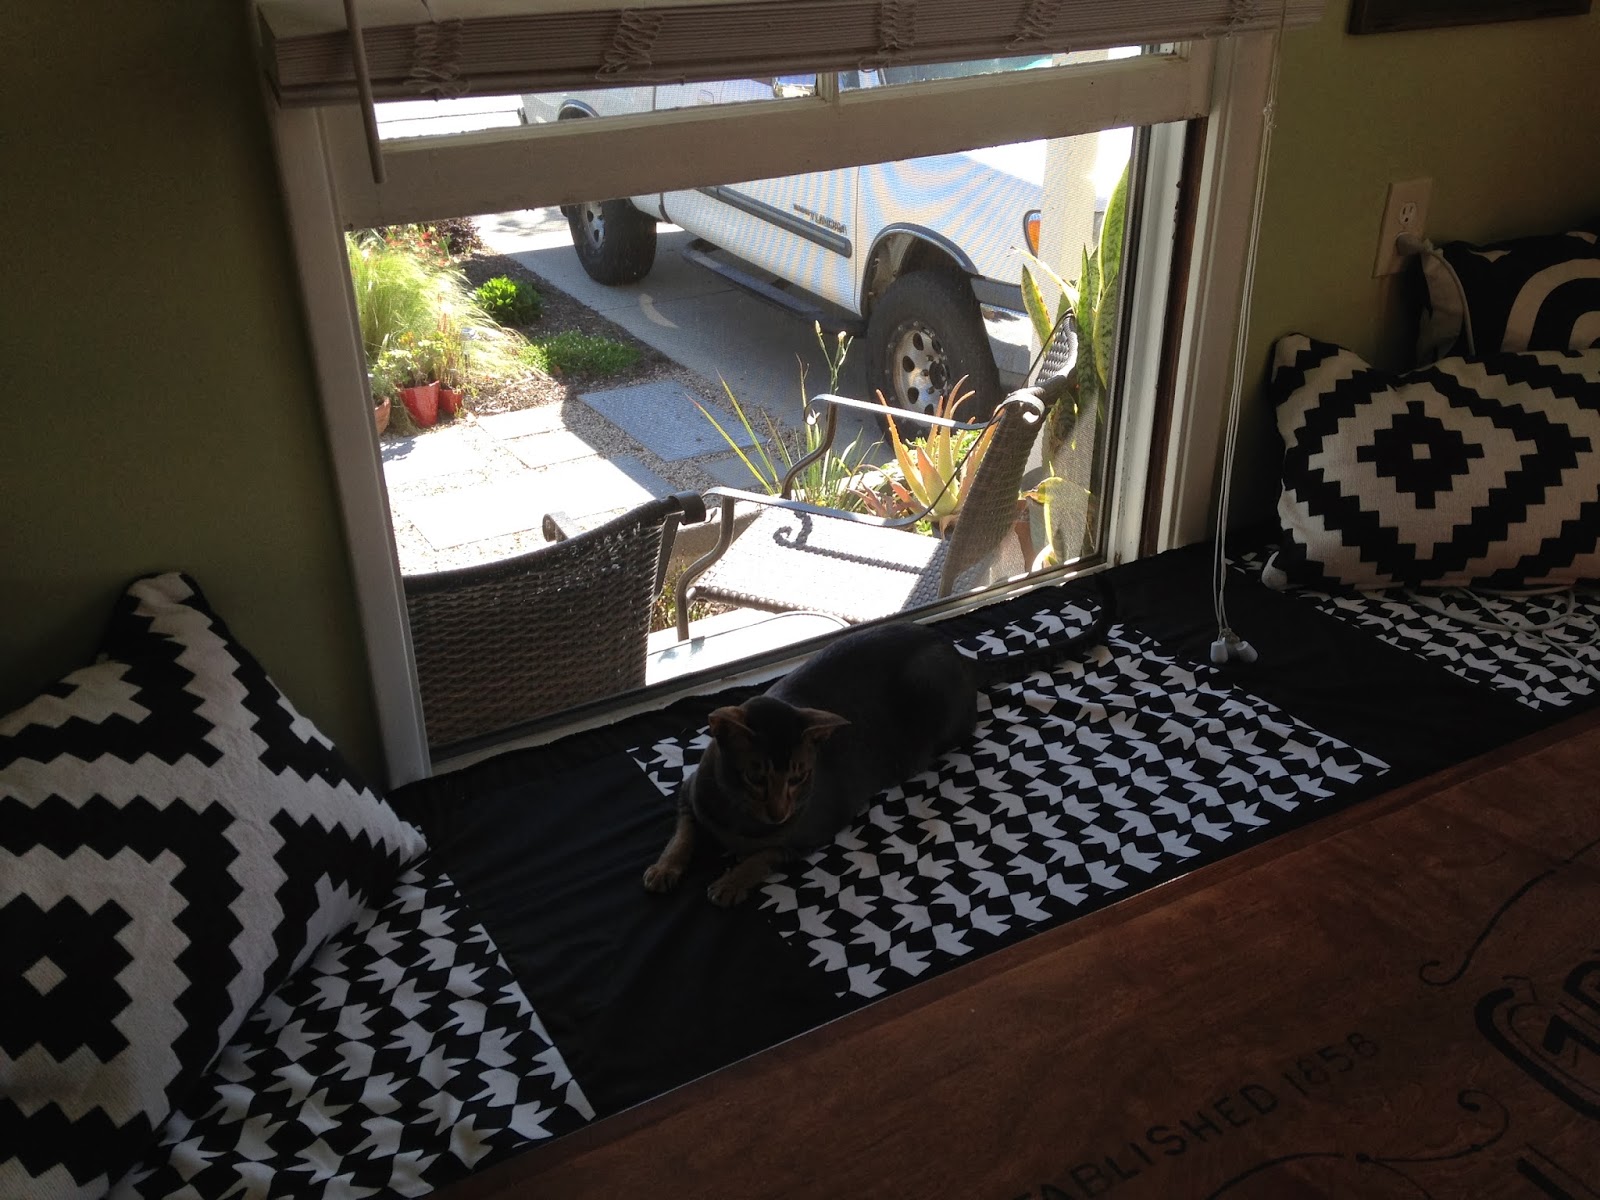
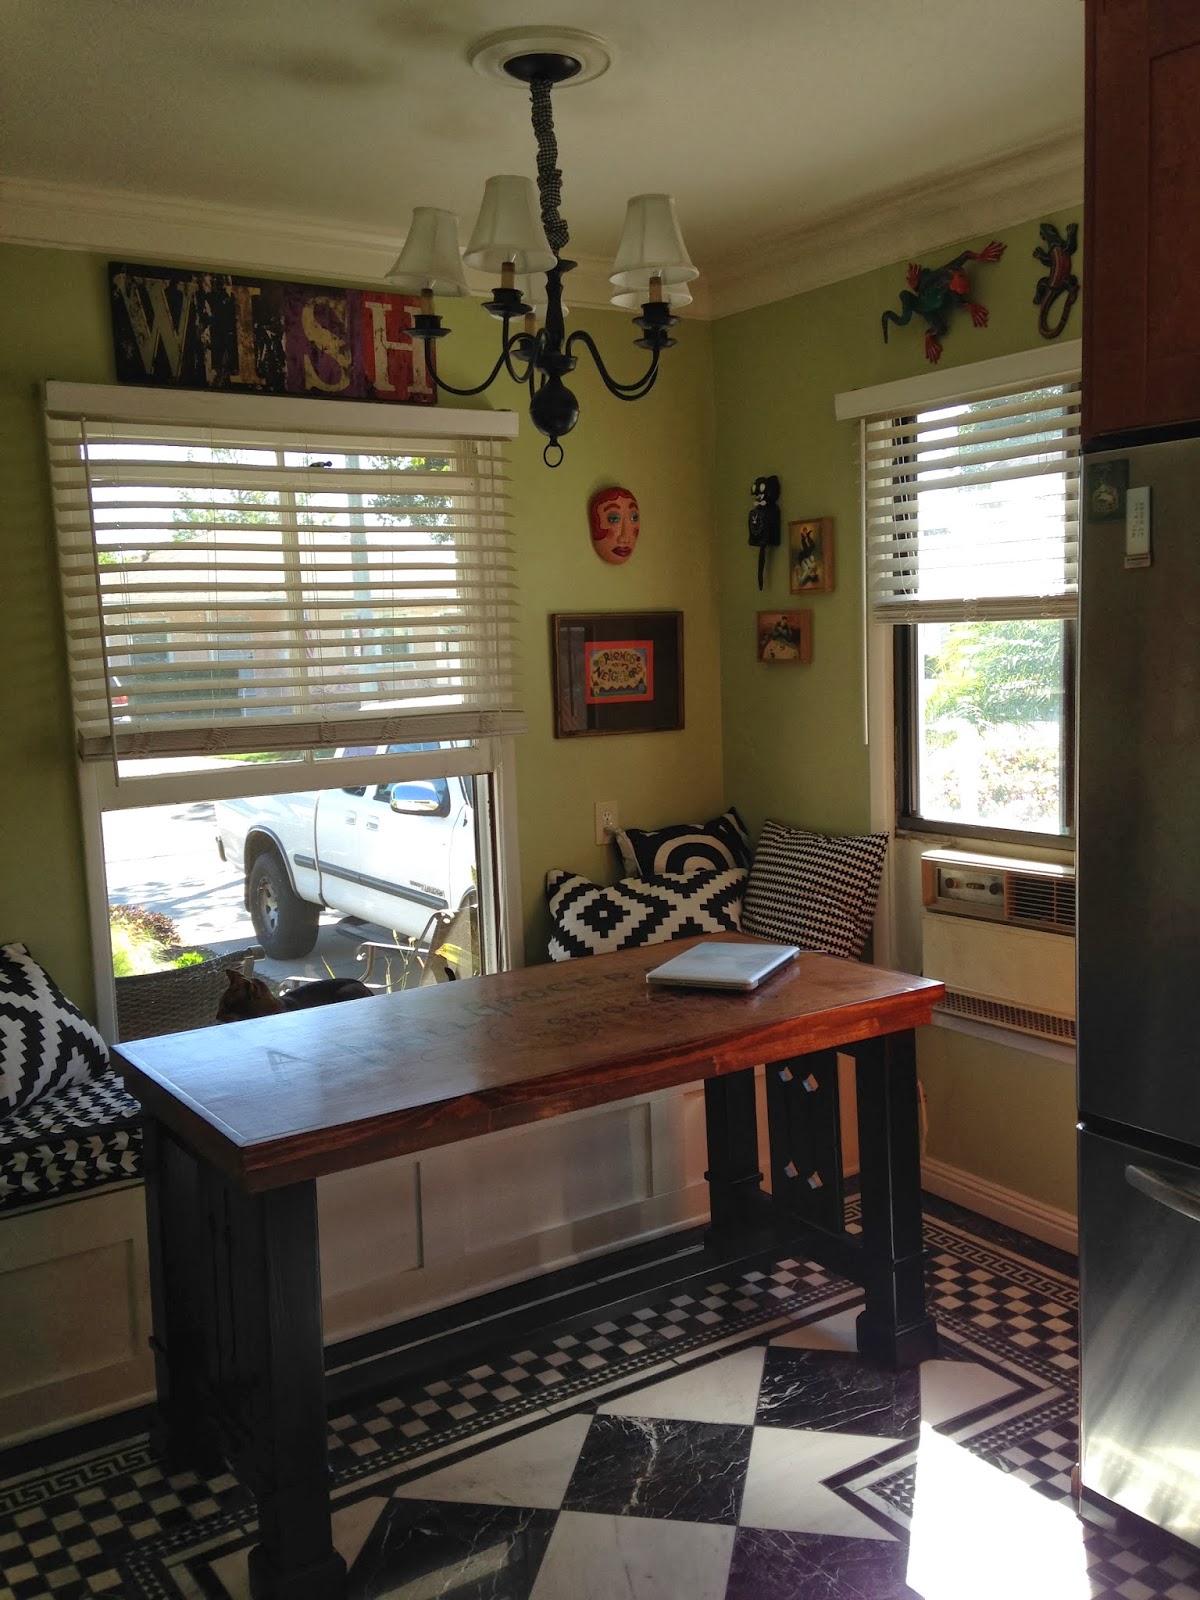
Another sewing project this week was to re-do the bench seat in the kitchen. I'd gotten this great fabric at Mood while I was in NY, but once i got the cushion covered, it was just too much.  I love the fabric and I will make pillows for my sofa or another area with it, but it wasn't working in the kitchen. So I was out and found this fabric with a busy, tapestry look that had the same greens as the wall in it, and I make a replacement cover for the cushion.  I like it so much better --


So there it is - all ready for company!  Next post will likely have an abundance of grandson pictures!

Wednesday, March 19, 2014

Small Projects

We finally got the walls done in the living room - although I still need to get the artwork hung and I'm waiting for a new rug to be delivered....So this morning, I went out to the garage, intending to spray paint some old frames that I have in order to put together a gallery wall over the sofa, and I saw one of our three nesting tables there.  The old top was peeling, and I had intended to take it apart and paint the base, so I started there.  And halfway through painting the base, my spray can clogged and would not clear, so....down the drain goes my plan of painting frames. I found another can of black paint, and finished painting the base, and then I figured I might as well get the top done, too.  I had already reworked two of the tables awhile back, but I wasn't happy with them for two reasons:  I didn't like the metal top on one of them, and I had cut the top about 1/4" too big for the ruler one.  So, learning from my earlier mistakes, I cut a new table top for the largest of the three tables (they looked like this before I started):
Cleaning out another one of our classrooms, I found another cache of old wooden yardsticks, which I brought home and had set aside to work on the other table tops.  So I cut a top out of 3/4" plywood, of which I have a TON of scraps leftover from the bookshelves and cabinets. 

I painted the bases black, and created a different pattern for each table top.


I am really enjoying the way they look!


I love some of the old advertising on the yardsticks. I do have a couple of newer ones in there, but I really like the charm of the older ones.


You can see a hint of the wall color here. It's a light gray - "Pelican" by valspar.  I am liking these tables as you enter the room -- before, we had them tucked away behind the recliners, because they were so unsightly, but now that they all look so good, I am all for bringing them into the limelight.  I did have some older end tables on either side of the sofa, but I might be willing to get rid of them since this table set looks so finished.

So I hope to have some more of the artwork up this week - I've got a busy schedule at work so I can't get much done until later in the week, but I wan to arrange a nice gallery wall.  I've hung a couple of our pieces, but I have a lot still to go.  And I want to get the curtains up again as soon as I can get a decent curtain rod. 

Now that the heavy lifting type work is done, it's nice to have a lot of smaller, more manageable things on my plate!  I am especially looking forward to having no projects for a bit so I can enjoy my guests coming in the next couple of weeks!

Sunday, March 09, 2014

Kitchen artwork

Our kitchen, with the travertine tile and stainless appliances - could easily look a little sterile.  This week, I've been adding all kinds of personal touches with artworks that we've collected.  Yesterday, I took everything down and finally painted the ceiling a fresh coat, and the walls got the final coat of green.  Other than a few major details -- like soapstone counter tops and replacing a window and door, the kitchen is close to finished.  All the colorful artwork makes it a cheerful and happy place:


First of all, I got the seat cushion covered.  I am about 90 percent happy with it - I might take it off, put a layer of batting over the foam (I bought it but thought I wouldn't need it).  


Wow, the table looks like it's skewed in this picture - it's perfectly straight.


On this wall, where there was previously a door, I hung some of my many many many Chinese checkerboards.  Above them is a mosaic snake that I made for my classroom when I still lived and taught in Indiana.  He's a fun art piece and I enjoy seeing him here!

On the window wall, I have one of two masks (the other one is on the other side of the window) that I made while teaching a unit on masks. I like making art with my students.   Below that is a great cat collage I bought while at a conference in Florida.


The color is a bit off in this picture -- but this is the other mask to the right of the window.  I also hung my awesome little kit-kat clock, and beside it are two of my small paintings from my dear friend Doris who passed about 8 or 9 years ago. 


Below the mask is an image from Lynda Barry's work - I printed it on transparency and then hand colored it in from the back.  It's in a vintage frame I found at a garage sale.


Above the ugly air-conditioner window, I hung three lizards.  The one on the left is a Mexcian carving I bought while at a conference in New Orleans, where Dale and I went to a street sale.  The one on the right was a gift from a student while I was teaching in Indiana.  The one in the center is one I bought in Pismo Beach.


Over the kitchen door, we hung a set of cow horns that were mounted by a friend who has a ranch in Colorado.  We were glad to find a place for these, they're fun but not the kind of thing you can just put anywhere! 


I hung a curtain I made from fabric strips over the window.  I made this for the first house we rented here in California - it was in the bathroom there, but I love how fun it is.


Under the clock are the small portraits of Persephone.  Don't worry, I'm working on a set of Mercury paintings, too.


Over the greenhouse window is a ceramic replica I made of one of my very favorite pieces of Medieval art -- the Magi Asleep by Giselbertus. 

The angel is waking the three magi (who are all sleeping in the same bed!), and pointing out the star.  Her single finger waking the king at the top, whose eyes have popped open -- I love this piece and am glad to have it in a place I can see it all the time. 
So - we are still waiting to find the perfect door (at the perfect price), order a window and buy countertops, but the kitchen is very liveable and lively.

In the meantime, while I was painting and hanging artwork, Dale was skim coating the fireplace --


We started off by putting a board that will act as a bit of a "mini-mantel" - a divider between the wall and the fireplace below.


We bought a hilti-gun (actually, the cheaper, hammer activated piece) that uses a .22 caliber shell to shoot nails into mortar.  We got sick of drilling anchors, and this tool works super well (and super loudly).  


Then Dale coated the part above with a bonding agent, then mixed up a mixture of plaster and cement.  He did one coat, and it dried faster than he had expected, and had time to put another coat on yesterday.  This morning, he's doing a finish coat and cleaning up the corner.  It looks really dark right now, but as it dries, it'll lighten then we'll see if we need to add a skim coat of plaster, although the way it's looking right now, it might just be fine as it with primer and paint.

Eventually, we want to retile the brick below - a nice ledger stone perhaps, but for now I am just going to paint it with the same paint I've used on the cabinets, so it will all blend together. I need to get a new fireplace cover that fits, and it will look super nice.  This has been one of those problem spots in the room - it was from the first minute we saw the house, but I think between all the cabinets, and smooth-coating the top, we might have actually managed to minimize this space so it works for us.


Saturday, March 01, 2014

Table is finished

Last week when I posted, I had built all the basic parts, but I still needed to do the sanding, painting and detailing.  First thing I did was choose the graphics for across the top --I got this one from The Graphics Fairy, which is where I found my last vintage typography as well.  This time I went for an American theme:


I got the image transferred to the table top with a overhead projector, and sketched it out in pencil.  I then went over it with a fine brush and black acrylic paint.  After that, I sanded the text down so it had a little bit of a vintage look, as if it had been on an old crate.


After that, I gave it two coats of stain - the same stain I used on the trim of our kitchen cabinets, so it would be harmonious with them.   Then I had to let that dry for a day before applying 6 coats of spar varnish, letting each dry and then sanding lightly before applying the next coat.


In the meantime, I sanded, primed and painted the base.


For the first black coat, I used some leftover paint from the outside furniture.  After that dried well, I sanded it and then applied a coat of black satin spray - the same paint I used on the old table.  I like the finish -- not too shiny, but a nice, deep black (this picture is of the initial coat of slightly off-black paint).


And this is of the deeper Rustoleum satin finish black.

Then I glued and screwed the base to the top from underneath.


I actually finished the coats of varnish earlier in the week but I wanted to let the topcoat harden a bit before I brought it in, because I know a couple of cats will waste no time walking across it with their tippy tappy toes.

I applied a coat of paste wax so hopefully we won't get too many nicks in the finish.  I will say that the last table looked brand new when we sold it, so all these layers seem to do the trick.

Oh, I sure wish that ugly air conditioner was gone!  We've got to replace the window to get rid of it.....


Now I need to finish the cushion for the bench seat. I have the pieces all cut and partially sewn - but with the rain today, I am enjoying just watching old movies on TV and snacking on Girl Scout cookies!  Maybe I'll get to it later tonight!


Note added:  If you want to build a table like this yourself, you can check out my plans at ana-white.com here.

Monday, February 24, 2014

Table

We ended up selling our kitchen table - the one I made from a Craigslist Free find.  As a reminder, here's how it looked:
I really liked the table, but in our remodeled space, it was too large.  I wanted something a little smaller, and actually, I really like rectangular tables more.  So I ended up selling it on Craiglist for a hundred bucks.  Not bad.  Anyway, then I was keeping an eye out for something free/cheap, and hadn't found anything yet.  I did see a couple of nice tables that might work, but knew I'd have to cut them down somewhat, and I hate to do that to a nice antique table. :)


Dale and I saw some really cool pipe base tables, and thought we might really enjoy that look in our kitchen.  So we sketched out a plan and went over to Lowe's to buy the pipe.  As we loaded the pieces into our cart, we were a little shocked at the prices -- and then we decided to add up the total before we made a decision, and the pieces came up to 144 dollars -- way beyond what we wanted to spend (and that only included the base!).


Luckily, I had pinned another table that I really liked -- and I knew I could make a replica of this WAY cheaper.  Here's the image I pinned:


Nice style, but too much oak, and the price....well, we're not buying that table! 


But I know I can make it.  Luckily, I had some maple plywood left over from my shelves, and it was just about the right size.  I added a lip around with 1x2 pine--


 I built the base from 4 x 4s for the legs, and some 1x4 slats on the side.  A center brace of a 2x4 -- and a lot of leftover trim from our previous work around the house. 


We spent a total of 40 dollars on wood and that's much better for me.  I still have some sanding (even out the wood filler on the nail holes and trim, stain the top, paint the base and then assemble it.  But so far, it's looking good!


 We went with squares instead of circles on the ends -- we used 3 slats across instead of 4, and the circles would have been a challenge.  Plus, we have a lot of squares with the tile pattern so I thought this would match up better.  I like the proportions, it'll fit nicely in our space. Just wide enough for us!


Thursday, February 20, 2014

Books in --

It sure looked like a lot of shelves, right? I was looking forward to "styling" them a bit with some fun objects interspersed with my books, artfully arranged by color.  Well - they're arranged by color, but as usual, I underestimated how many books I own, and they are kind of packed in.  I do like the color arrangement so far -- it helps to keep the shelves look neat.


They've been in boxes in the garage for about 2 years -- when we moved from the first rental, I didn't have shelves to unload them into, and I didn't want to buy anything to fit a rental.  Then when we moved here, we had no where again, but I knew I was going to build something -- so off into holding they went.


I unloaded them, and started stacking them in colors.


and I kept unloading them.....


 and kept unloading them...


it seemed like it would never end!


And to think that I had pared down the collection by a TON when we moved from Indiana.  And I don't even want to mention it, but I have at least this many books in my office at school, too.

But here they are!  The shelves below are almost full as well -- all the brown ones are in there, and anything that looked less than lovely (weird spines, wire bound, etc).  When we finally remove the furnace down the line, I can actually move some more down and then-- maybe then -- I can add some curios to the shelves.  And to think I had a few thoughts as I was unpacking/sorting that maybe now I could buy some more books?!  Not going to happen!

Saturday, February 15, 2014

Boy, are we tired!

Well, we worked our butts off today, trying to get the living room near completion.  We actually hit almost all of our goals today, which is great.  We finished the coffered ceiling trim, we got the ceiling re-painted (we had done it in semi-gloss, and I hated it, so another coat of Swiss Coffee, this time flat), caulked, Dale skim coated the wall of the sliding glass window and I finished painting the shelves!  woo hoo!
The only thing we were thinking we might get to today was to install the TV/electronics, but we decided to go out for dinner and take a hot shower instead.  We figure we'll be ready to do something in the morning. 


I do love it with the pocket door closed!  We still have a stupid place holder light fixture in the middle of the room -- we want to put a ceiling fan in, but we have so many other things to worry about that we are going to wait on that for a bit.  Oh, and the recessed lights we had to pull down to paint around, I want to check out paint job in the morning.  Painting a flat coat on top of a gloss coat - hard to tell what's been painted and what got missed, especially with the lights glaring right in our eyes!


I am so ready to get my boxes of books unpacked and fill the shelves, but I want to let the paint cure for a week or so.  Books are heavy and I don't want them to mess up the paint job.  That was 1 coat of primer and 3 coats of topcoat -- I do NOT want to paint that again. 


I do still have some touch ups of the ceiling trim- I got 2 coats on today, but they could use a third.  So in the morning, we'll touch up and then get some stuff moved back in, although we still have walls to work on.


The biggest project in here that we still have left is doing something with this fireplace.  We are actually going to skim coat the top half and then plaster it so it is smooth, and then retile the bottom half with some ledger stone.  I would LOVE to find a really nice set of fireplace doors that fit the opening -- I'll have to keep my eyes out for those.  I've seen beautiful cast iron ones, but they're probably way outside what I'd like to pay.  Once we decide on what kind of stone to put on the fireplace, I'm also going to tile over the brick hearth.  Probably travertine or slate, but we'll see how that goes.

This spring we hope to get the french doors put in to replace the slider.  We removed most of the trim from the slider before Dale redid the wall, so it should be a pretty simple affair to take the slider out.  We are going to go ahead and trim out the doorway so it looks finished, it'll be pretty simple to take the trim down to replace the door when we're ready to do that.

Well, hot showers and putting our feet up.  I think tonight's the last night we'll have our giant TV at the foot of the bed!  I look forward to getting my bedroom back!

Friday, February 14, 2014

Here kitty, kitty

I was at the art supply store a couple of months ago, and I saw these little canvases for under a dollar each -- they are 4 x 4 inches, and I bought six of them.  I decided I wanted to paint a little series of portraits of Persephone for the kitchen - because she's black and white and she matches the tile!

When I lived in Indianapolis, I had a few favorite works at the IMA (the Indianapolis Museum of Art), and some of those were a couple of small portraits done by Cornielle de Lyon, a Dutch portrait  painter who worked in the 1500's.  This reproduction from the IMA's website is a bit dark:


But what I love about these -- apart from the size, they're fairly small -- is the lovely green background and finely painted details.  So that's my inspiration.  I captured the face of Miss Persephone in different views, and decided to do four of them.  Another thing I loved about the Cornielle deLyon portraits is the varnish, it makes the colors glow, so I put several coats of spar varnish on these, which will also help protect them since they're close to the stove.


The green is much more vivid than the walls, but goes wellwith them.  And I decided to make simple lath frames, nailed to the wooden stretchers.  That way they go well with the hanging wooden spoons.

I came home from class one night and just worked on them until I finished around midnight.  Varnished them and the next morning made frames.  They are really great, and I think they're the perfect addition.  However, Mercury is a little sulky, so it looks like I've got a portrait of him to paint in my future.


Blogging tips