Showing posts with label plants. Show all posts

Friday, June 12, 2015

Yard comparison - 2 years later

This summer will be the second year our front yard has been growing -- and growing!  We were doing some succulent trimming the other day - giving away starts and agave pups on CL Free -- and I knew I had pictures that showed how much some of the plants had grown.  The agaves in particular. So I looked through the pictures so I could do some side-by-side comparisons.

This is the view from the driveway.  You can see how full all the plants have gotten, especially the agaves. 

This is the view from the front steps:
Again, the agave has gone nuts.  The mexican feather grass gets cut back a couple times a year, but it grows fast!  It's hard to tell here, but we only have one of the 3 palms left. We planted a couple of small ones to replace the ones we had to remove, but I still have a large sago palm I may put out there as well.

I need to take some pictures of the front parking strip as well - that section of the yard does not get any water at all, and still the plants out there are doing great!  I also need a picture from the other side of the yard, I'll get that later!


Saturday, August 31, 2013

It's been a hot week

Here in Long Beach, we usually get a couple of hot weeks during the end of August, and they rolled in right on time.  We closed the windows, turned on our window ACs (we have two of them, woo hoo!), set up the fans and just figured we'd be in the house for the day, maybe catch up on some tv watching on Netflix....and darned if the power didn't go out!  At the same time, I saw this ad on CL free for a Chinese fan palm (Livistona Chinensis), and the guy said to come on out, so we loaded up some gloves and ropes and took off.

He said in his ad that this tree was about 18" in diameter (trunk) and about 5' tall and weighed about 400 pounds and we'd need a truck and some rope.  On the drive over, we talked about how we thought he was probably not close to how much it weighed - people are always saying how big or heavy something is on CL and it's always no big deal.  I mean, it's a big deal to them, but not to us.

But this guy knew what he was talking about!  This tree was huge!  It took the three of us multiple tries to figure out how to get it on our truck, but we finally did.
Even this picture cannot capture how tall it was.  Hmmm...maybe this one:


Just for scale, I'm 5'5".  It was really really big and really really heavy.

Then the guy gave us a tour around his property. He's all involved in the Palm Society, and he invited us to the meetings.  He knew a ton of stuff about palms, but after touring his property and seeing his trees, we were pretty scared that this tree was going to end up enormous!  All his trees were huge, it was like a jungle in there.  And the scariest part - he'd only been there about 11 years, so all of the trees were about 10-11 years old, and seriously, they were huge.

But, after looking at a lot of information online about this tree, I feel confident that it is going to be the one we need for our yard, and that it won't grow as huge as some of his crazy large trees.


Getting it OUT of the truck was a  lot easier than loading it up.  We got it rolled out, loaded on a dolly and plopped into its new home in no time.  Well, we did have to take a time out to cut a couple of branches on the avocado tree, but that was just a little blip.

That avocado tree will be leaving sometime in the next year or so.  It's a very messy tree, it drops leaves and branches and avocados all over the yard, and we don't want it making a mess for our future pool.  We want a tropical type of backyard, so this tree is going to take it's place.  It will take about a year for it to get fuller and recover from the transplant, but I think by this time next year it will be a gorgeous full palm.  Here's a pic of what we are looking forward to:


Even if it grows fast, it will take 10-12 years to get too large, and we are not afraid to remove it if it becomes unworkable.  The guy who we got it from said, "sometimes, a chain saw is the best solution."  And that's a guy who is ALL about palms.

Another thing we worked on for the yard is something I saw on Pinterest -- I want to attract birds and butterflies, and I thought if I added a birdbath to the front maybe I'd get some birds visiting.  So I was looking around to see a DIY birdbath, and I ran across this one:
 
Not really what we need fro the front yard, but I liked it anyway -- so last week we did a thrift shop run and bought a few vases, bowls and platters, and this is what we came up with:

A little fancier than most of the stuff we like, but it's sparkly and nice and hopefully, it will give the birds a second thought when they fly by.  Behind that is a cordyline plant that we got off CL, but right now he's looking kind of wilted.  Hopefully, both the palm and the cordyline will bounce back and we'll continue to collect plants for next year's big backyard project. 

Oh, and by the time we got home and got this tree in the ground, the power was back on, and we've been relaxing in the AC since then!


Livistona ChinensisLi
Livistona Chinensis

Friday, August 16, 2013

It's in the details

We're in the middle of working on the irrigation system - we're converting from a traditional system to a drip system, installing a timer and setting up zones - but it's so danged hot outside, that we can't really work during the heat of the day.  So I decided to fix up a fun little project.  Dale had bought me these plant markers when we were out at a plant store a couple of months ago:

They have a zinc-plated face, which you should be able to write on with a pencil or marker.  But Dale said they'd look so much nicer in copper.  One of the perks of being an art teacher is that I just so happen to have sheet copper and copper tape at home, as well as a set of metal stamps so instead of writing the names, I can stamp them permanently.

The first thing I needed to do was to remove the zinc plated metal -- I just unfolded the metal and took it off, then measured the unfolded piece.  I added a little length so I had plenty to work with, then marked and cut my tooling copper.  I then went down the plant list and stamped the botanical names with my metal stamps, which I bought a long time ago at Harbor Freight.  I got them on sale for 2.99, and I've used them for a ton of things --

I added the year at the bottom.  Thinking of the future when I may replace plants or add new ones! 

After I stamped the name and date, I rolled the metal flat again. I marked the sides with a light crease.

Then folded it over the metal frame.  To make it more secure, I used copper tape along the back.
 I took a dot of black acrylic paint, and rubbed it into the embossed letters.  This will make them stand out and make them more readable.

After I rubbed the paint in, I used a paper towel to wipe off the excess:

I considered spraying the finished tag with a clear spray, but decided I wanted to let them age and build a nice patina.

We have about 35 different plants in the landscape, so I've got a few more to go.  I have 20 of them done, but I need to order some more plant markers! 

Well, I hope to finish the drip system tomorrow.  We also added solar lights (which have come a long way in the past few years!), I'll have a rundown of those in the next post.

Wednesday, August 14, 2013

Succulent fountain

I ran across some great images on Pinterest when I was looking for ideas for the hell strip - I want to use succulents there because I don't want to run the irrigation system under the sidewalk, so I need something that can take the long periods between hand-watering.  I saw these ideas:

So instead of working on the hell strip, I got sidetracked into looking for a free fountain on Craigslist (because I'm a CL Free stalker.  Seriously, I could have done my whole yard purely on CL free).

I missed several - these go fast, but early one morning I was using my CL app while still lying in bed, and I ran across this ad:
(I removed the personal info).  Looks great! I glanced quickly at the size without really thinking about it, I could see it was large -- but when we actually got out there (Yes! scored it by being the first caller!), OMFG it was huge.  Yes, 5 feet across.  Thank goodness we bought a truck.  And, thank goodness the guy who was giving this away was the size of a football player, so he could help Dale load this into the truck (although I be  his heart sunk a little when he saw me, a white haired old lady at his door, before Dale got out of the truck). We wrangled it into the truck and got it home - getting it out was an exercise in problem solving, but then we got it all placed and I painted it with the same brown paint as I used on the bricks, planted the top half for the front yard and:
 it looks pretty sweet!  I want a lot of trailing plants, so I have a few varieties that will drape over the side.  Brown is not my favorite color to say the least, but I thought this would work best in the front.  Although a really lovely orange or red might have been pretty cool --

And in the backyard is the rest of the behemoth:


I haven't done anything other than paint it yet.  I placed it where we took out a large agave for the front yard, we got it all leveled, and I am going to think about what to put here.  it's not going anywhere.  I do have one more agave bovicornuta that might look great in the center, with a lot of other succulents around it.  We want to give it some thought before we plant it, however, because once it's full, it's placed for good.  We are contemplating the backyard landscaping plan, because we are going to be putting a pool back there in the next year (I know I said that last year, but I really mean it this year :) !) I think it might look really nice with a lot of lush groundover back here, but we have to put in an irrigation system and clear out some trees/roots, so no big rush.

Speaking of irrigation systems, that's the next plan on the agenda. I got my supplies all ready, we got a new automatic timer (another almost free item - the city of Long Beach has a rebate that covered 80 of the 89 dollars it cost).  Oh, and I got my OK for the lawn to garden rebate - our check for $3000 should be coming in a month! 

One more look at my succulent fountain in the front yard:
 

Tuesday, July 16, 2013

Front walk done

We returned the broken pavers and have the replacement put in place, and the walkway looks great with all the gravel added:
Several of our neighbors have stopped by to admire it.  I think what they're really admiring is progress, since it's just been a big dirt pile for the last month.  But we'll take it.  I went through and raked the dirt in this small area, along with most of the rest of the yard, removing all the clumps and rocks, and it is ready to plant.  I was really excited, I thought yesterday was going to be a big planting day, but then this happened on the way to exchange the pavers:


Stupid bad ankle! I was getting into the car, twisted my ankle, fell and broke my toe.  Sheesh!  It's going to take a few days until I can use a shovel so I can get some of my big agaves dug up and put in this area.    We did get some boulders yesterday, however - here's one group:

I think I have to move these forward, but I have to give my foot a little time to repair before I can do that.  In the meantime, we have gotten some more plants, which are temporarily in our "holding area" in the backyard:
The large green agave in the center, the firesticks, the assorted succulents here, they'll all go in that smaller bed.  We also picked up a couple of large plants for the other half of the yard, these we paid for but they were on sale so we went ahead and got them -- a giant bird of paradise for 58 dollars:


And a red banana for 35 dollars:

This one we put in a pot, and haven't decided if it's going to stay in the back or move the pot into the front yard.


We also responded to a craigslist free listing for two sago palms.  We've wanted some of these, but they are really expensive. We had to go dig these up, there are two of the, the trunks are around 2' high, with fronts about 6', so they would have cost us a couple hundred each.  They are looking a little weary from the transplant, but I think they'll be fine.  The inner row of fronds are nice healthy green.  We may put these in the front, depending on how full the yard looks once we get it going.  They are extremely slow growing, so they'll stay about this size for a long time.


So, I was hoping there would be somewhat of a reveal today, with all kinds of plants put in place, but it looks like it'll be in a week or so. 

Monday, June 10, 2013

No more grass....

Yesterday, we hired some local gardeners to bring out a sod cutter and remove our dead grass.  We had planned on doing this ourselves, although everyone who has been through this program says that this is the worst job ever, and if you're going to hire one thing out, it should be this.  We called over to Home Depot to find out about renting a sod cutter, and it would have been 89 dollars for the day.  Plus, it won't fit in a vehicle, so we'd have to rent a truck and trailer to bring it home.  We might have been able to rent it for four hours to save 25 bucks, but all in all, we figured we'd need plenty of time.  By the time we added it all up, it was going to cost us 150 dollars for the tool/truck rental -- and that was before we put in any labor of our own (plus dump fees for getting rid of the dead grass).  So we called a couple of places and were happy to hear the quotes - 350-400 dollars, which was entirely reasonable.  And best of all, they said they could do it the next day.  So now we have this:
yep, just dirt.  Our neighbors are also doing their yard, and they have only dirt, too, so we aren't embarrassing anyone too much!  This week we have to do a check on our irrigation system, which we will be converting to drip, but we do have at least one leak in the pipes near our neighbor's house, so we are going to fix that.  Then rototill and amend the soil. 

In the meantime, we went to a plant selection class, and as everyone was arriving, signing in, etc, there was a name and phone number projected on the screen, with the title: Free Dymondia.  We wrote that right down, and after class, we went by and scored 8 flats of dymondia.  Here it is in our holding zone:
 We also planted some up by the front of the garage, and around our labyrinth plot.  I spent the rest of the week digging/weeding/conditioning the soil, and now we are here:

we are busy tamping down the paths, and we picked up some paper to lay down a weed barrier.  Because this labyrinth won't be there forever, we are trying to do this as cheap as possible. We did pick up some plants, all the parats that are outlined by white flour are going to be planted, and the paths will be covered in either gravel, decomposed granite, or mulch, whatever we can score the cheapest (or free!  I love free!)  I have lots of plants around the yard that we can move over, or divide and put pieces here.  And I have to finish the surround of dymondia.

Originally, I had marked out a slightly different plan, but Dale said he wished we could figure out a plan where we don't go in, then just turn around and walk the same path out, so this one has an entrance and exit.

We fiddled around with the original plan until we got it to work out, then test walked it a few times.  I like this one, it starts off with a lot of zigs and zags, but as you walk it, the runs get longer and you end up more relaxed.  Ha, now that I look at that diagram above, it looks vaguely biological, like intestines! 

We also made a few kokedama, moss surrounded plant balls suspended from strings.  One of my students created a how-to video in our technology class, and I've wanted to make some ever since then.  (here's the video tutorial: https://vimeo.com/63858985)

So that's where we're at.  Tomorrow I hope to get the paper down on our labyrinth path, and maybe get started on the front yard as well --

Wednesday, June 05, 2013

We are approved!

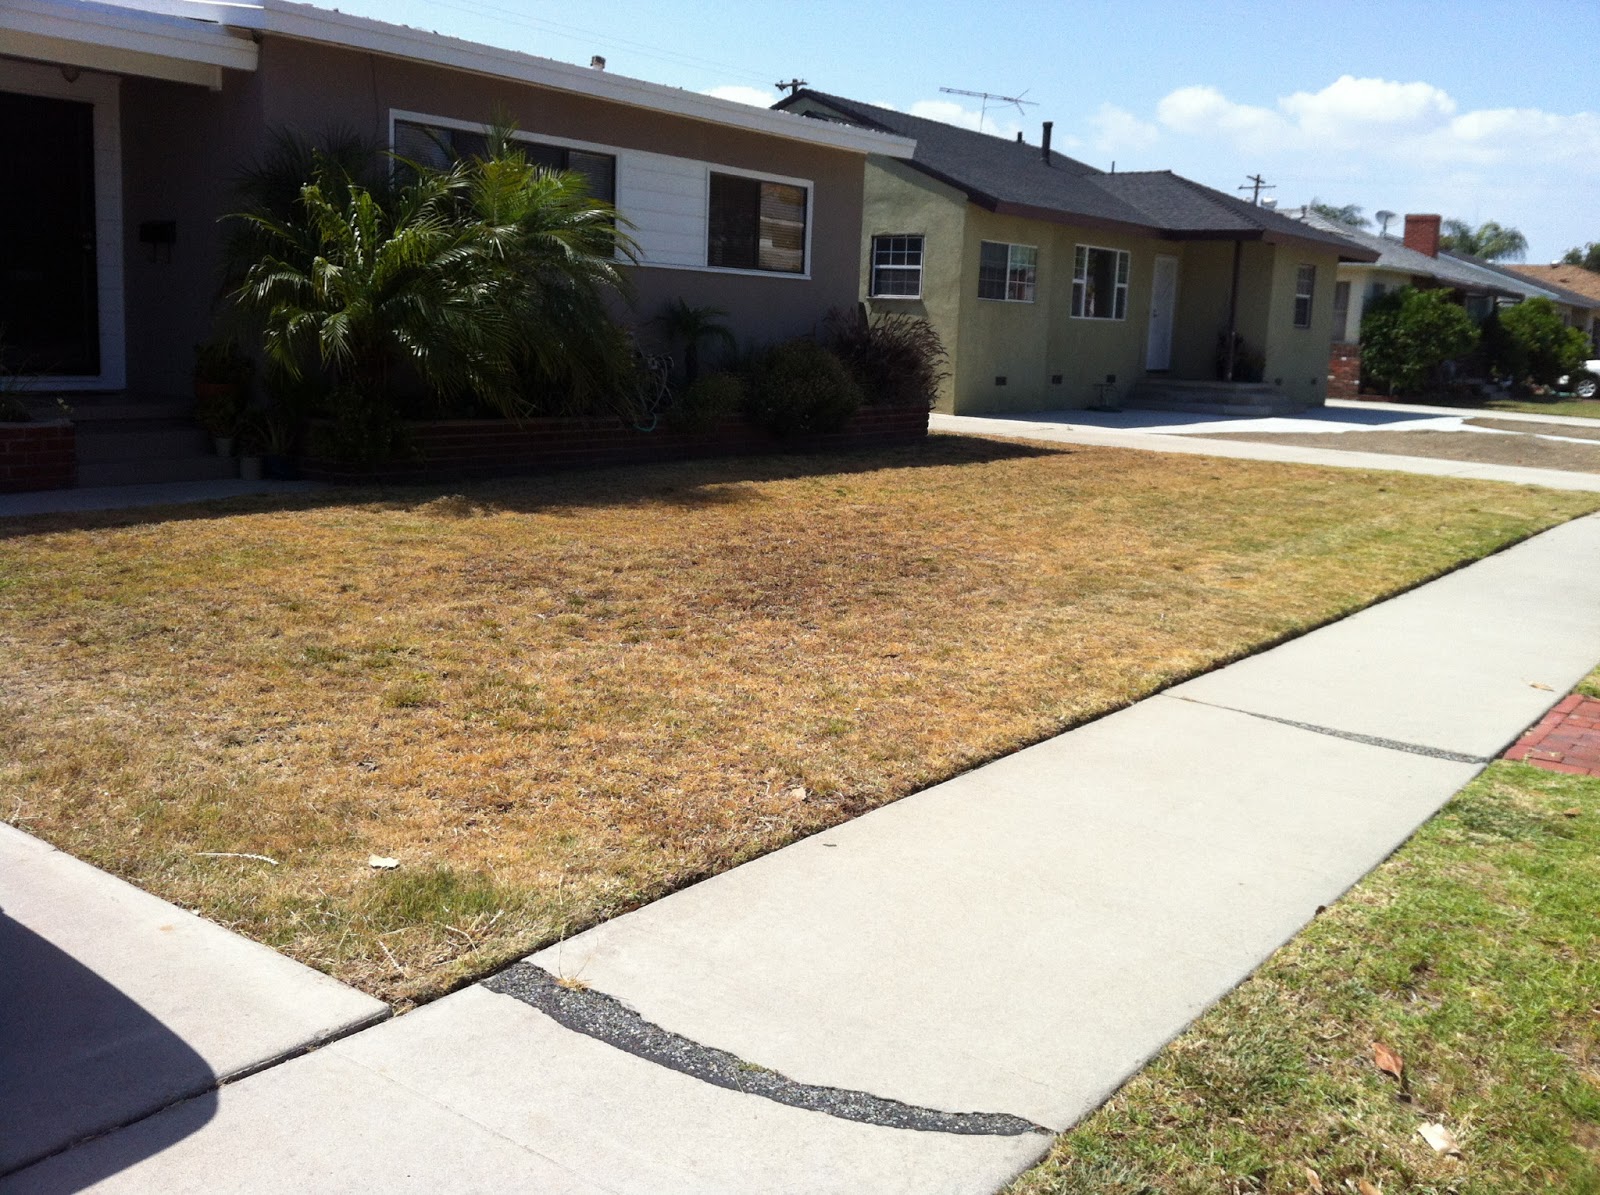
We got our official notice today - we are approved for the Lawn 2 Garden grant, and we can get started on our landscape plan!  We actually started killing the grass 2 weeks ago --

Round up.  Round one.

two weeks later, and it looks like this:
it actually looks much worse now, after round two.  But yesterday, as per instructions, we fertilized the dead grass (!) to see if anything grows, and then, it'll be round three of Round up.  Then, rent a sod cutter, and pull it all out.  Probably next week.  We also decided to kill the grass in the parkway (hell strip), although we did not submit plans for it.  We are only going to get $3 per square foot for the first 1000 square feet, and the main part of the yard is over that.  So we are killing the grass on the parkway but probably won't be planting anything there for awhile.  Maybe just throw some mulch down until we decide to work on that, too.
So this is the plan we came up with. We visited a lot of yards and nurseries, and used the online resources to come up with the plants we wanted.  They're all numbered there, here's the list of plants:
1.  Pride Of Madeira             Echium candicans 
2. King Palm Archontophoenix cunninghamian
3. Strelitzia nicolai   Giant Bird Of Paradise
4. Compact Gold Coin            Asteriscus maritimus       
5. Century Plant, Maguey     Agave americana
6. Lamb's Ears           Stachys byzantina  
7. Mexican Bush Sage           Salvia leucantha
8. Pygmy Date Palm, Roebelin Palm    Phoenix roebelenii
9. Kleinia        Senecio mandraliscae        
10. Kangaroo Paws   Anigozanthos hybrids        
11. Shasta Daisy        Chrysanthemum maximum          
12. Dwarf Callistemon Callistemon 'Little John'
13. Lygeum sparteum  Esparto Grass
14. Leonotis leonorus  Lion's Tail
15. Calla Lily Zantedeschia aethiopica    
16. Agastache rupestris  Licorice Mint
17. Aeonium arboretum  Parasol Aeonium
18. Medio Picta Century Plant         Agave americana medio-picta
       Yellow Margin Century Plant   Agave americana v. marginata
       Agave parryi v. huachucensis  Huachuca Agave
19. Yucca elephantipes  Yucca Tree
20.  Pink Stripe Flax Phormium 'Pink Stripe'     
21. Rainbow Warrior New Zealand Flax     Phormium tenax 'Rainbow Warrior'
22. Purple Fountain Grass   Pennisetum 'Rubrum'       
23. Dymondia, Rock Ditty     Dymondia margaretae
24. Gazania hybrids  Hybrid Gazanias
25. Australian Tree Fern      Cyathea cooperi 

Some of these plants we already have, and while we have mapped them in at their mature size above, they'll be little sprigs when we actually plant them.   We did do a cheesy photoshop of how we think they might look --
 yea, someday.  But we were pretty happy with this plan.  

In the meantime, we also are kind of frustrated with the backyard.  Ever since we cut down the large tree that dropped SO MUCH TRASH all over the yard, we can't keep the grass alive back there (there isn't a irrigation system back there.  There is one in the front, although it doesn't work well, and we have to convert it to drip as part of this next process.  but I digress).  Anyway, it gets to be a desert back there.  So we are going to do a few things to tide the yard over until we actually get a pool put in.  We are using the front section as a holding ground for some ground cover --
dymondia on the right, and ajuga on the left.  We want to see how they do in the sun - the grass is particularly hard to grow right in this space, due to the heat from the surrounding concrete.  
Yea, that's some dead grass, and hard-packed dirt.  Lovely.  So what I did was pound a stake in the middle of the yard, run an 8' string out and spray paint a circle:
and sprayed RoundUp in the circle.  Which is almost redundant, but I tell you, when you WANT the grass to die, it's hard to kill.  So what am I going to do in that circle?

some kind of labyrinth!  I like this one (via Pinterest), but I have lots of other designs I have saved, too.  You can look at some of them here, or you can search 'back yard labyrinth' on Pinterest and see LOTS MORE.  

So I am going to kill the remaining grass, lay down some landscape fabric (or newspaper layers), and then cover it with mulch (which we can get free from the city), and then create the lines in our labyrinth with bricks, plants, rocks, etc.  I like this style of labyrinth, called 'Santa Rosa' --
I marked out 16' in diameter, so that should make a reasonable sized path.  

So.....more projects!  Will our kitchen ever get done?  eventually!  But it's so lovely outside, and I can't pass up a chance to make our environment a little nicer.  

Tuesday, October 30, 2012

Mission San Juan Capistrano

Although I just got back from a week in New York and Indianapolis, two days later I had a one day conference in San Diego.  We took the opportunity to stick around a little and explore some of the sights, and on the way home, stopped in to check out some California history by visiting the Mission in San Juan Capistrano.
The Mission is undergoing some construction - they are building a new entrance area (you can see the fenced off area to the top right above), but the gardens were in full flower.


I love this variation of Mexican sage (Salvia leucantha) - with its white accents.  We have a large Mexican sage, but it's not looking as  lush as this.  I think we need to transplant it to a sunnier area - I notice that these were in full sun (ours is in the shade before noon).  I might have to get one of these strains as well - ours is plain purple.  I love the touch of white.


We enjoyed strolling through the grounds, listening to the audio tour.  The buildings are in various states of conservation, restoration or a total rebuild.  We enjoyed looking at the artifacts and listening to the stories.  The audio tour was really great.


So many beautiful vistas!  The mission has two courtyards, the one in the first photo in this post, and the larger, more formal one shown in the left.  The gardens here are more reserved, and planned.  The ones in the first courtyard felt more exuberant and spontaneous.


Loved these beautiful lily pads with their striped pattern!  There were large koi in this central fountain.

While we were enjoying the garden, we were surprised to hear the bells ringing. Each bell has a strap that is pulled by the bell-ringer, playing a specific pattern of notes for each occasion.


The Missions had a working ranch along with crops.  This is the brand that the San Juan Capistrano cattle were marked with.  There was a chart that showed the brand for each mission.  This is a small station so that kids can take a rubbing of the brand for a souvenir.


There were a number of different themes for the gardens - I really enjoyed wandering through.  These are some cacti and agaves from the desert section.


The most stunning specimen was this amaranthus - or "love lies bleeding" -- it has vibrant red stalk and stems, and the cascading soft plumes...it was really striking!  I wouldn't mind having one of these in a pot!

It was such a lovely trip, and nice to get to know some of our adopted home's history!


Blogging tips