Showing posts with label doors. Show all posts

Wednesday, November 14, 2018

Reworking the garage

This summer we had a huge project to undertake - helping Leslie and her husband Clint (and the two grandkids, Parker and Beckham!) remodel and renovate a 31' airstream.  Leslie and Clint wanted a change - they bought a vintage airstream and traveled to our place to remodel it. 

The whole procedure is outlined on their blog:  http://thereedfamilyadventure.com/airstream/  check it out - the outcome is fantastic.  In order to get ready to have the airstream in our backyard/garage, we had to get ready by clearing a bunch of stuff out, and remove the garage door (which was a pile of junk anyway, wobbly, heavy and ill-fitting).  So we spent the summer getting the airstream ready to go, and they successfully launched on August 4.

And we decided to take advantage of most of our garage being in dissaray, and emptied the rest of it out.  So we had a blank slate!


Our garage has never been empty - when we bought the house, there was a bunch of junk out there. We left some, sold some, and generally just packed more stuff in on top of it.  And I hated that minty green color - made it look old and funky.


Tearing down the built-ins created a huge junk pile in the backyard, which we worked on every week to cut up and dispose of.


 So we continued to empty things out of it, dismantled some of the built-ins and then painted the whole thing white. Which took gallons of paint!!


This whole process took weeks, because I was also teaching, and Dale had slipped yet another disk in his back.  So the going was slow, but we were persistent!


Once we got it all white, we added some new shelves in overhead, to match the ones on the left.  We used a lot of scrap that we had leftover from the airstream project, along with using new wood for the shelves under the overhang.


We painted the top shelves white and decided to create some sliding curtains to cover the shelves below, so they look neat even while we have a lot of things stashed on them.  This is a pic of the top after we painted it, but before we made the curtains.


I need to take a good picture of the new workbench, which we moved to the opposite side of the garage (swapping sides with the freezer).  We added in new electric on that side of the garage to accommodate our tools, and built an extensive shelf system above the space for the workbench.


We had an old red tool box that really was too small for all our tools, and we saw a great one on sale at Home Depot, so we used the two of them for the basis of our workbench.


We took the top toolbox off the red one, and created a new wooden top for that one, then added the black one to the right.  We can roll those out for extra worktops, and they finally hold all our tools well.  We also labeled all the drawers so we can remember where to put everything back. In this pic, you can see the curtains.  We made those out of Harbor Freight drop cloths, added grommets and a wire stretched to serve as a curtain rod.


Here's what they look like open and closed.  Most of the time they're open, but it's nice to neaten up and close them, especially when we are sawing or making some other kind of dust.


This is what the other side looks like. We still have several things we need to make some storage racks for:  the large scaffolding that we use, along with some of our beach gear.


We did make some overhead storage for our ladders and smaller scaffolding.


We relocated the flourescent lights so they align with the rafters.  We might want to add some hanging fans, to get some ventilation.


We also build an extra large worktable - a full 4' x 8', on wheels, that we can roll out onto the drive if we need to work on something large.


This will come in handy for all kinds of projects! (if we can keep all the junk off it!).


But my absolute favorite part is the way we worked on the doors.  We had picked up several sets of french doors on craigslist, intending to use them to replace our sliding doors in the living room.  We've gone back and forth about that - on the one hand, the big sliders allow us a great view of the outside, and we don't really use the sliders often.  So they've been sitting in the garage forever.  So we decided we'd create a series of bifold doors with them.  We had to create two 1/2 size side panels, and attach the hanging rail.  I cleaned up the old doors, filling the doorknob holes, the hinge cutouts, and dings here and there, then sanded and hung them.  They took about 5 coats of paint each - the originals were a dark greyish green, so I primed them twice with Kilz and then 2-3 coats of exterior semi-gloss.


I still have some top and bottom trim to finish - I have some brush weatherstripping ordered, and I have wood trim to install it with, and the bottom vinyl seal to keep the water out, but we're happy with how they came out!  (I actually adjusted the two on the right after taking this picture, so they hang at the same height as the rest of them). We got the faux black hinges from Menards one winter, and they add a little nice touch!  The doors open and fold back all the way so we can work out in nice weather, and working inside is nice and bright!  And they look sooooo much better than the old rickety door that was impossible to lift, and it hung just at the right height for Dale to whack his head on about once a month.  The best part is, they look fabulous from the house!

Wednesday, August 01, 2012

Entry finished

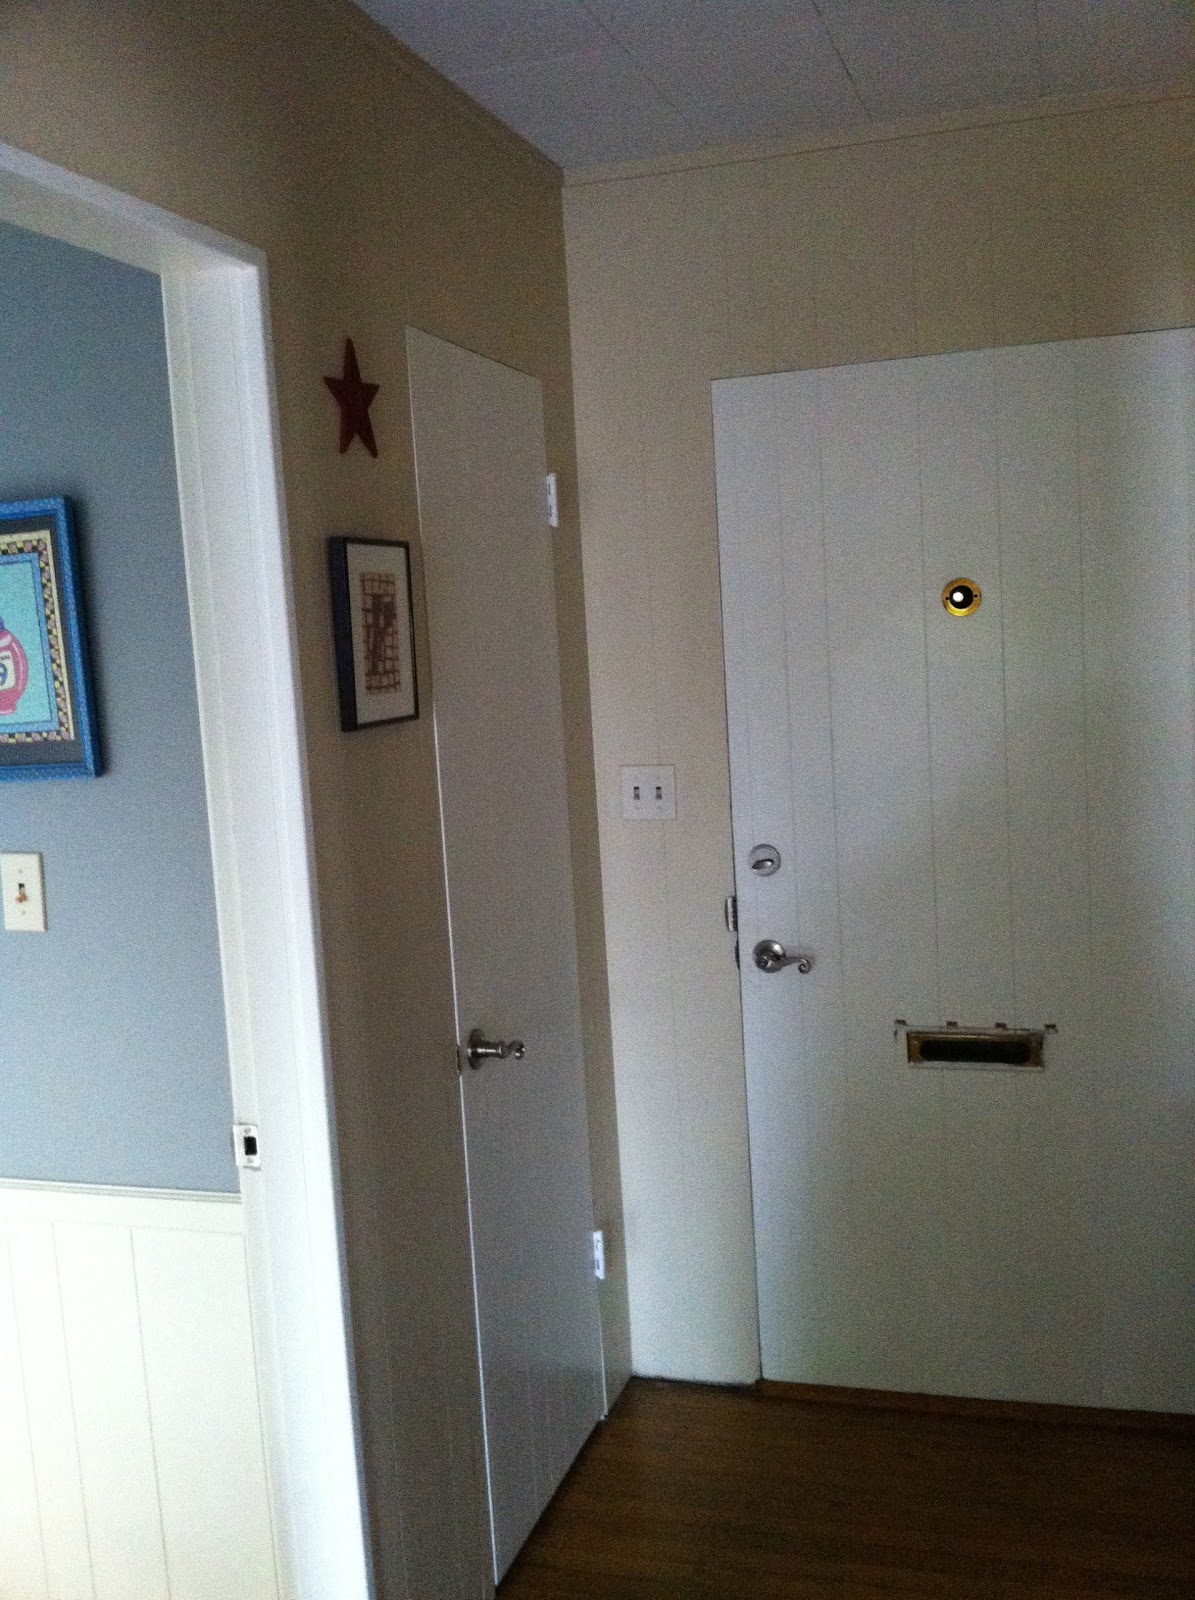
A marathon carpentry and paint session yesterday, and touch ups this morning and I have the entry hall done.  I can't believe how much bigger and nicer it feels.  I was worried that by using a tinted paint (compared the the pale beige it was) might make it look smaller.  Maybe it's just that when we removed the paneling, the dark wallpaper and ceiling make it look so small, that now, anything looks better!  At any rate, I'm delighted with it.

This is my attempt to get the whole thing to fit in one picture!  And of course, a cat walks through.

What I love most is that the doors all look great again:
I added casings around all the doors, and baseboard and crown molding.  I haven't done anything with the front door yet, I'd love to replace it with a new full view door.  So right now, it still has the old paneling on it, because it's just a flat slab underneath.

 We have three pocket doors in our house. Two of them had paneling applied, so I am glad to see this one in all it's glory.  I'd like to attack the one in the living room next.

 None of the rooms have base molding, so we are adding it in each room we do.  Although this house is essentially a mid-modern style, we prefer a more a traditional style.
  I'm also adding crown molding in each room, as well as a picture molding band 5" down and treating them all together.  I do notice that this makes the rooms feel wider. 
So - now I've got this done, I'm packing and hitting the road to meet up with my daughter in Pismo Beach for a mother/daughter getaway!


Wednesday, July 11, 2012

The Entry

Well, our last group of summer visitors left yesterday.  We spent the evening enjoying the relative peace and quiet, but I woke up early this morning and couldn't get back to sleep, so I decided to take advantage of the cool morning and get a jump on a new project.

Our entry space, like the living room, is paneled and the paneling is painted.  It's not my favorite, but it's liveable.  However, one thing I really don't like is that they also paneled over the doors and removed all the casings and trim around the doors.  I love the doors in this house - they have 3 panels and they're very retro.  So I wanted to do what I had done to the bathroom door - remove the paneling, sand down the door and repaint.  Luckily, the previous renovators had only used glue and not nails, so I have have to pry the paneling off and remove all the extra spacing.  Then I sand it down (and sand and sand), and repaint 3 coats of nice white paint.


I figure if I do one door each morning (there are 4 doors in this little entry way!), by the end of the weekend, I'll have some nice doors to break up the paneling.  And that was really a good idea.  Too bad I didn't stick with it.

After I got the closet door down, sanded and with the first coat of paint drying, I decided I wanted a little peek behind the paneling, just to see what was there.  And I also wanted a peek underneath the acoustic ceiling tiles, to see if there were any obvious cracks that would explain why someone would cover the ceiling with them.

An hour later, and I've got paneling and ceiling tiles all over the place, and the hallway now looks HORRIBLE!  LOL - this is what most home improvement projects are like.  You start one little thing....
Whew.  This is one ugly little space now!  I was contemplating painting this little area a black or deep blue and then painting a white pattern over it - some kind of stencil - but after seeing how dark and cavelike it looks, well, it's going to get painted a nice light color.

Isn't this the ugliest wallpaper ever?!


And the ceiling tiles - they had gold glitter all over them - fancy!

They'd been painted white several times, so it wasn't until we pulled them down that we could see some unpainted areas.  The good news was that the ceiling was in fine shape - apparently they just wanted it to be sparkly here.  We also have ceiling tiles all over the living room and kitchen ceilings -- we'll get those taken care of when we get to those rooms.  Underneath, the ceiling was painted a dreary shade of brown  - we'll patch up the nail holes from the furring strips and give it a couple of coats of stain blocker to cover that awful brown.

But I have my work cut out for me now - scraping wallpaper off these walls.  I got a start, just using a spray bottle and a putty knife, but I had to take a break and go out and get the scoring tool and a better scraper, so I'll have plenty of work to do this week.  Got some good podcasts loaded up on the ipod, so it looks like I'll get caught up on my listening. 

Oh, and that door?  It looks great - although it's the only thing in the entry that does right now!
One down, 3 to go.
I seriously love these doors!!


Blogging tips